Archives for August 2012

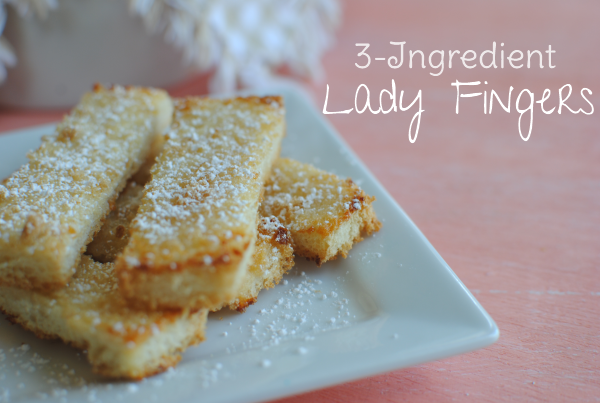
3-Ingredient Lady Fingers

Y’all know I’m a big fan of my sweets. Did you see yesterday’s recipe? I especially love recipes that don’t include many ingredients. In most cases that means that it will cost less to make and it will take less time. Cheaper and I can eat it sooner? My kinda recipe.

I can’t take credit for these sweeties today. I found this one inside the Fite for Your Life II cookbook by Janis Forbes Fite, RN. It’s a really good cookbook for low-fat and simple recipes. And she’s from my home town!

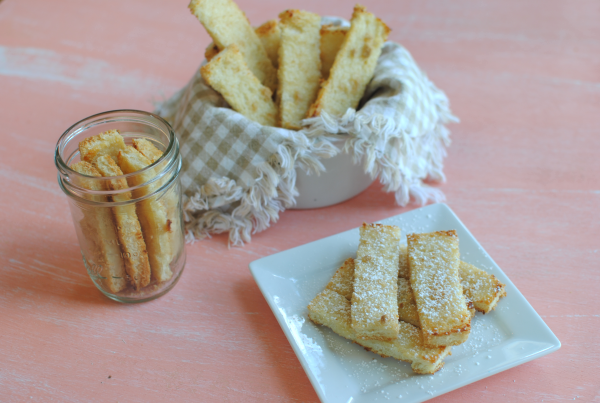
These are SO simple and perfect for a brunch, baby shower, or tea. Very light and airy and made out of things you probably have on-hand. It starts with day old white bread. Now I’m not going to lie. My bread wasn’t old. In fact, I bought it the day that I made these. So I just popped them into the toaster for a taddy bit to get them a little “stale”. Worked like a charm, but had me considering the need for a 4-piece toaster. It took a while to toast up all that bread.

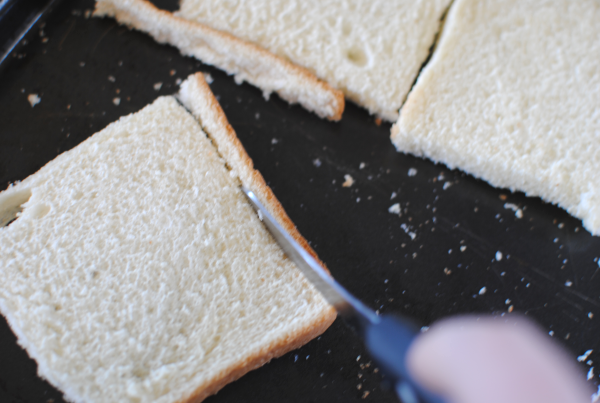
So, start by cutting the crust off every piece. This will leave you with a lot of leftover crusts. You can simply eat them as you cut them off as I did. Or consider some of the options below:

  • Pop them into the food processor to make your own bread crumbs.
  • Dip them in melted butter and sprinkle with cinnamon and brown sugar, then bake at 350 degrees for 20 minutes or so. Tasty sweet treat!
  • Use them to make stuffing (or dressing as we call it in the south)
  • Use them to make bread pudding.
  • Freeze for later to make any of the above!

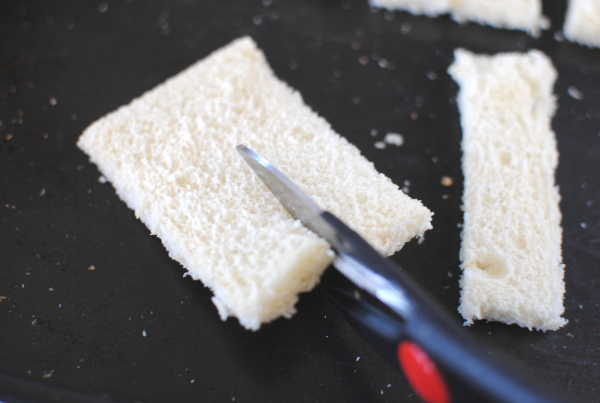
Cut each piece into 3 “fingers”. I used my kitchen shears and that worked really well to get straight pieces. Nobody wants a crooked finger! 😉

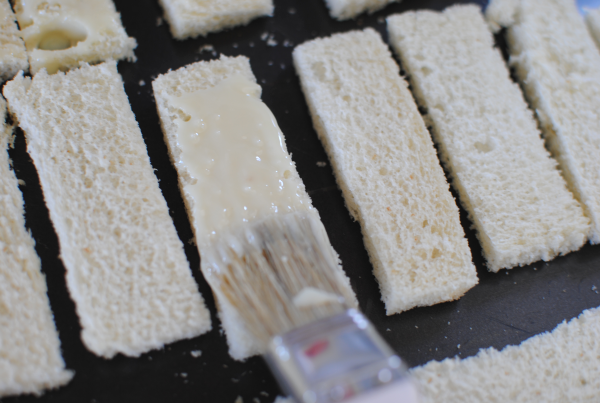
Enter, sweetened condensed milk. The fat-free kind that is. Using a pastry brush or whatever kinda brush you’d like, spread a generous amount onto each piece. This is what gives it that yummy sweetness.

Sprinkle on some brown sugah too…

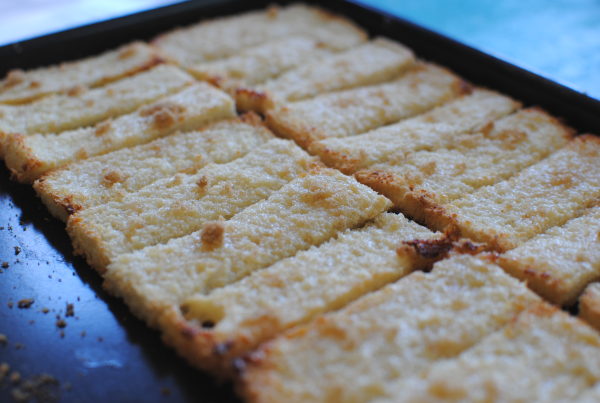
Oh yeah. Pop those loves into the oven and let them get all brown and crusty.

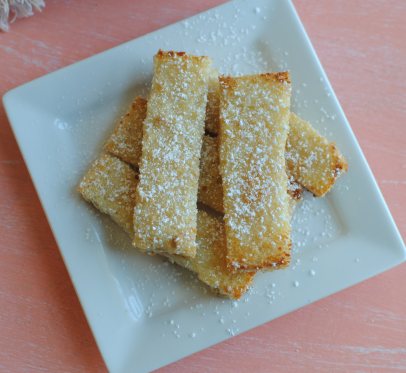
And if you’re like me, you’ll sprinkle on a little powdered sugar just because. They are so good! Maybe not exactly like other Lady Fingers that you’ve had. But hey, with plain old (literally) white bread and a couple other simple ingredients, you just can’t beat it.

3-Ingredient Lady Fingers
Recipe Type: Dessert, Snack
Author: Fite for Your Life II Cookbook- Janis Forbes Fite, RN
Using day old white bread, sweetened condensed milk, and brown sugar you can create Lady Fingers in no time flat.
Ingredients
  • Day Old White Bread
  • Sweetened Condensed Milk (Fat-Free)
  • Brown Sugar
Instructions
  1. Preheat oven to 350 degrees. Trim the crust off bread. Cut each piece into 3 fingers.
  2. Brush each generously with sweetened condensed milk. Sprinkle each with brown sugar.
  3. Bake for 10 minutes or so until golden and bubbly.
Notes

The reason there are no specifics amounts listed on this recipe is because it is completely up to you how many you make. I didn’t use an entire loaf of bread or an entire can of sweetened condensed milk. 1 can will go a very long way. You can probably make 50- 100 with 1 can.

Store in an air-tight container or bag.


Like this post? SHARE it!

Related Posts Plugin for WordPress, Blogger...

Chocolate-Covered Strawberry Pizza

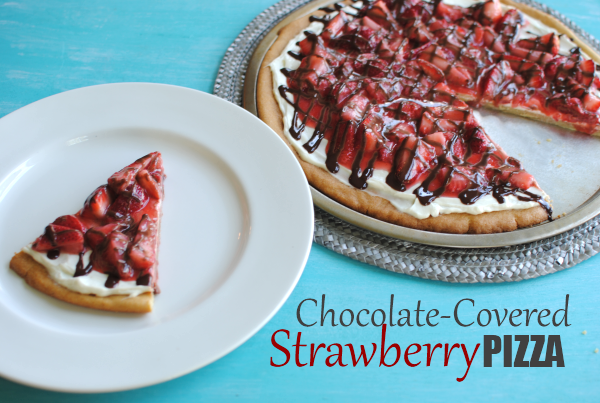
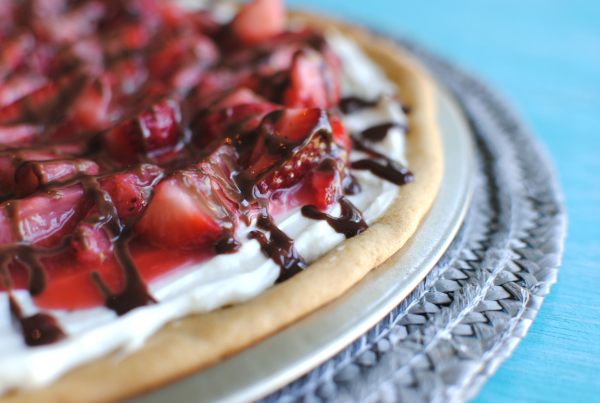
There are two things that you’ll notice right off the bat about the picture above. 1) That it’s pizza and 2) there are strawberries on that pizza! But the one thing you won’t exactly pick up from that picture is that crust isn’t just any crust.

It’s COOKIE.

Yes, we’re talking a soft and sweet tasty cookie to make the base for this incredible dessert pizza. And who needs tomato sauce when you can have a vanilla cream cheese sauce on top of your cookie crust? And instead of anchovies or ridiculous pepperoni, let’s top it with strawberries and then drizzle those with creamy chocolate ganache shall we?

And the next step is to make sure to alert the others in your household that it’s there. Otherwise you might find yourself eating this entire pizza yourself.

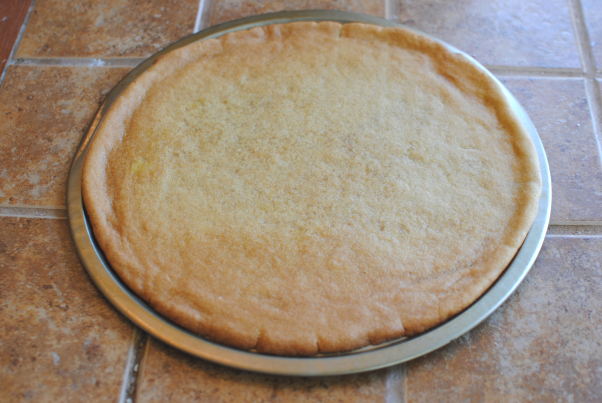
It all starts with something extremely easy, (dare I say) store-bought sugar cookie dough. I got lazy and this whole idea came to me when I was staring at the cookie dough section at the store. So feel free to make yours from scratch if you wish. I’m sure it will make it all that much tastier.

Simply place it onto a pizza pan and flatten away. Bake it according to the directions on the package or your recipe, you overachiever. 😉 I left mine just a tad bit soft so that it would still have some give similar to breaded crust.

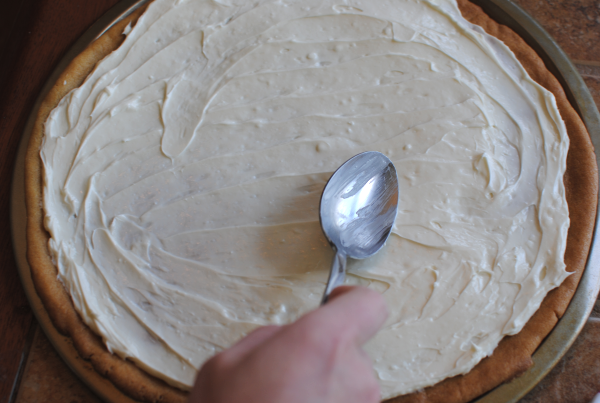
Then using a spoon that you’ve clearly been licking, spread the yummy vanilla cream cheese onto your crust.

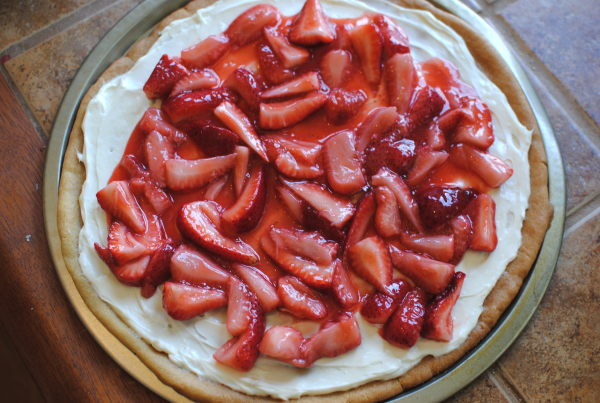
After making up your strawberry sauce, spoon it onto your cream cheese and get ready for the chocolate baby.

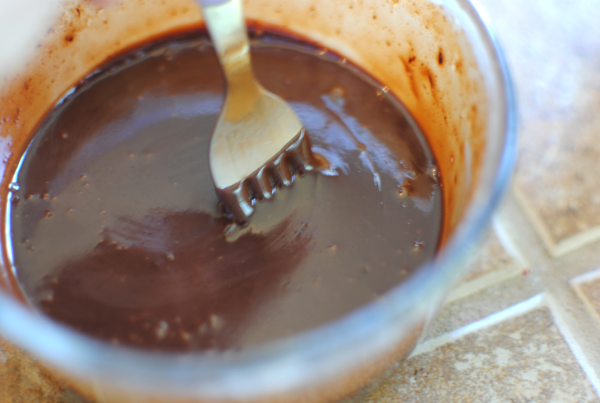
This chocolate ganache is as simple as it gets. Cream and semi-sweet chocolate chips are a match made in heaven. Drizzled over strawberries on this pizza, they are heavenly for sure.

Do you see what I’m talking about? It just doesn’t get any better than this.

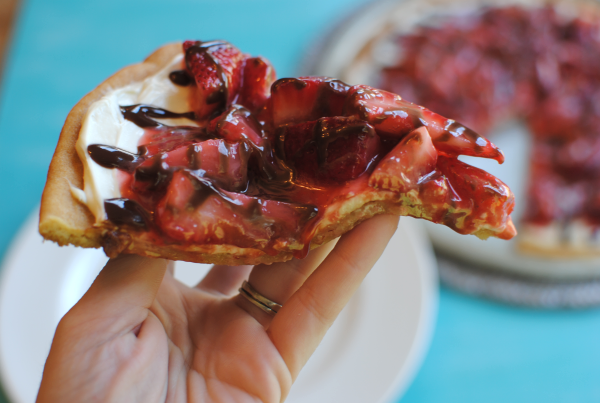
Well maybe it does. If you had a piece like this in your hand! Check out Aldi and their strawberry deals. They always have them cheap!

Chocolate-Covered Strawberry Pizza
Recipe Type: Dessert, Pizza
Author: Pennywise Cook
Pizza isn’t just dinner anymore, it’s dessert too!
Ingredients
  • 1 Package Sugar Cookie Dough
  • 2 Cups Capped, Hulled, and Chopped Stawberries
  • 1 8 oz Package Cream Cheese (I use 1/3 less fat kind)- Softened
  • 1/2 Cup Splenda + 1 and 1/2 Tbsp Splenda
  • 1/2 Cup Heavy Cream
  • 1/4 Semi-Sweet Chocolate Chips
  • 2 Tbsp Water
  • 1 Tsp Cornstarch
  • 1/2 Tsp Vanilla Extract
Instructions
  1. Prepare cookie dough according to directions, but place on pizza pan to cook. Let cool.
  2. Meanwhile, whip cream cheese, vanilla, and 1/2 c. Splenda together. Spread onto cooled cookie crust.
  3. In a small saucepan, combine 1 and 1/2 tbsp Splenda, strawberries, water, and cornstarch. Bring to boil, then simmer for 5-6 minutes. Let cool.
  4. Pour over cream cheese taking care to not cover the entire cream cheese area.
  5. In a microwave safe dish, heat cream for 1 minute or until boiling. Place chocolate chips in cream and let sit for 2 minutes. Begin to shake the bowl allowing the chips to begin to melt. Don’t stir just yet. Microwave another minute, then stir together. Allow to cool for a bit.
  6. Drizzle chocolate over pizza. Cut into slices and serve!
  7. Keep refrigerated.

Like this post? SHARE it!

Related Posts Plugin for WordPress, Blogger...