Homemade Strawberry Belgian Waffles

It is MAY! Where in the wide world of sports did March and April get off to? I remember thinking wow, it’s already March and then BOOM it’s  May. I’m mostly caught off-guard because both of my girl’s birthdays are in May which means that mommy has a lot of work to do. My oldest’s birthday is next week and I decided not to procrastinate this year by asking her cake preference a week before instead of, oh, the night before.

These are Mom Of The Year qualities, you know.

She chose My Little Pony with a Rainbow Dash emphasis. For those of you who don’t know about these girly things, just know that I have a lot on my plate next week.

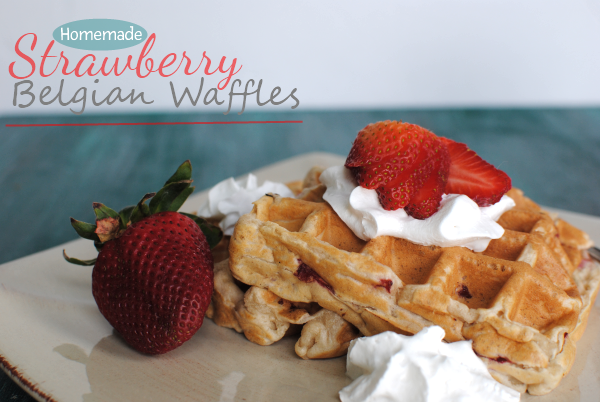
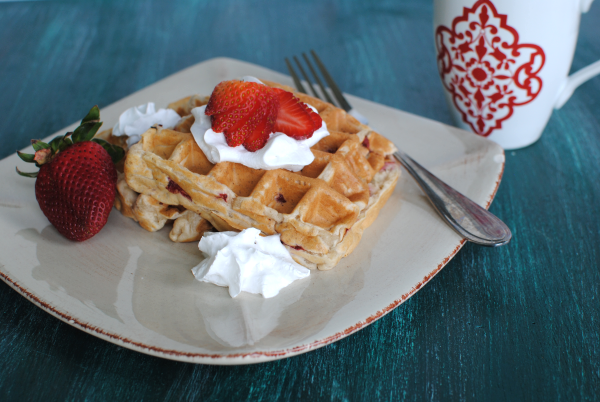
There’s probably a chance that you’d like to know about those big, fluffy waffles up there. I could tell you many stories about when my mom used to make these for me. Without exaggerating, I probably ate 4 of these in one sitting when I was younger.

I could do the same now, but I try to practice self-control.

My mom always made them from a box. Do not get me wrong, that is normally the very method that I would use. However, since I do have a tendency to eat a redonkulous amount of them, I wanted to make sure and healthify them up just a bit.

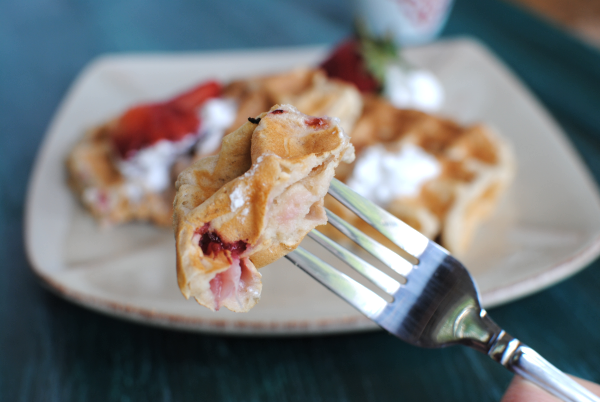
These Homemade Strawberry Belgian Waffles contain no butter, oil, or eggs. You could use soy milk or almond milk in place of the milk and you’d have them dairy free! They aren’t artificially made to taste like strawberries like some boxed mixes might work. They are literally made with fresh strawberries which give them a more natural flavor.

I almost called these Strawberry-Banana Belgian Waffles because I used bananas instead of the oil/butter/egg, but the banana taste didn’t come through as much as I was expecting. Even the strawberry taste didn’t become as potent as I would have liked. But if you’re brave and don’t mind a little sugar, you can add a tsp of sugar to the strawberries before adding them to the batter and I’m sure that it will bring out the strawberry flavor a little more.

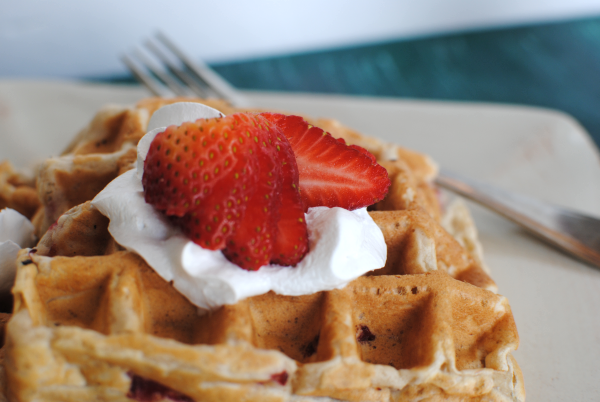
I think my favorite part about Belgian waffles as opposed to regular waffles is the fact that they are super fluffy.

I love fluffy food.

Does that sound weird? I’m sure it does, but I don’t care. I like whipped cream, cotton candy, mousse of all kinds, lighter-than-air angel food cakes. You name it, if it’s an ounce away from losing it’s gravity and joining the angels, then I probably enjoy eating it. The key to eating them, at least in my opinion, is to top them with fresh (or sliced and sweetened) strawberries and then give them a few squirts of Reddi Whip. I’m not sure that I could be in the presence of a Belgian waffle that didn’t contain whipped cream. That’s just the way that I was taught to eat them. I wonder what the Belgians think of me…

My waffle iron makes 2 of these at a time. With the amount of batter that I mixed up, I got 4 total. To help you know how many of these you’ll get out of 1 batch. I’d recommend doubling the recipe if you have a hungry bunch.

Believe me, they won’t eat just one.

Recipe adapted from Vegan Heartland.

Homemade Strawberry Belgian Waffles
 
Recipe Type: Breakfast
Author: <span class=”mceItemHidden”><span class=”mceItemHiddenSpellWord”>Pennywise</span> Cook- Adapted from Vegan Heartland</span>

Serves: 4
Strawberries add a summery flavor to sweet and tasty belgian waffles! You’d never know these were healthy. There are only about 150 calories per waffle!
Ingredients
  • 1 c flour (I used about 1/4 c whole wheat)
  • 1/4 tsp salt
  • 2 tsp baking powder
  • 1 tbsp maple syrup (I used sugar free)
  • 1/4 c mashed banana (about 1 banana)
  • 3/4 c skim milk
  • 1 tsp vanilla extract
  • 1/2 c fresh strawberries, finely chopped
Instructions
  1. In a small bowl, stir together flour, salt, and baking powder until combined. Set aside.
  2. In a separate mixing bowl, combine maple syrup, banana, milk, and vanilla. Mix on low until fluffy.
  3. Slowly add the dry ingredients to the wet and mix well.
  4. Then gently fold in the strawberries.
  5. Cook according to your waffle iron’s directions.
  6. Optional) Top with fresh strawberries and Reddi Whip!
 
Notes

– If you wanted to bump up the nutrition, you could also add some flax to these. I used about a 1/4 c whole wheat flour in mine.

– You can use pretty much any type of milk in place of the dairy milk if you’d like. Even coconut milk. It’s just a matter of your preference!

– These don’t have a strong strawberry taste (what’s in a name anyways?), so if you want to bump that up, add about a tsp of sugar to the strawberries. OR you could add the strawberries in the at the beginning and let them mix in well with the wet ingredients. The flavor would disperse a little more there. (I will be trying this myself)

– Or if you have any other suggestions for these, I’d love to hear! They are a work in progress. 🙂


Facts (per waffle not including toppings): 147 calories, 40 carbs, 0 grams fat, 5 grams protein, 417 gram sodium, 3 grams sugar.


Like this post? SHARE it!

Related Posts Plugin for WordPress, Blogger...

3-Ingredient Buttermilk Biscuits

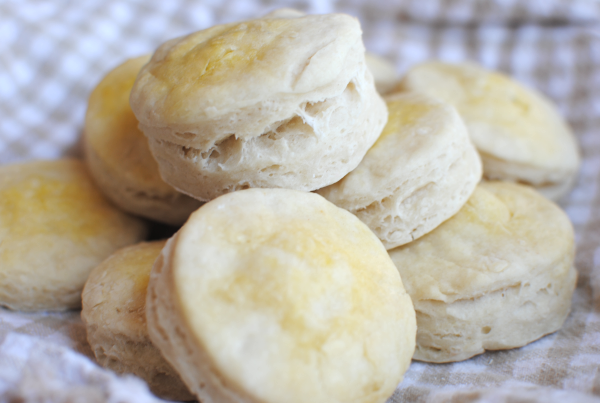
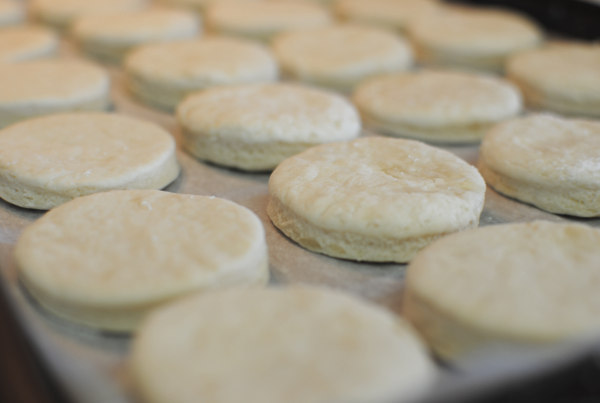
So yes, this isn’t a picture of candy bars. But you’ll be happy to know that it is a picture of something just as incredible. These biscuits were my very first biscuit success! A friend of mine who blogs at Thrifty T’s Treasures recently shared a biscuit fail of her’s. Let’s face it, it’s not easy making perfectly fluffy biscuits.

They never said biscuit-making would be easy. Isn’t that a famous quote? No? Well it should be. Because it’s the truth! Pillsbury has made life too easy on us. (Never thought I’d say THOSE words)

But I also don’t want to spend my entire afternoon in the kitchen creating the perfect biscuit dough, either. This momma has plenty to keep her occupied without slaving over biscuits. So I was very excited to find this recipe over at Fun Cheap Free. And I figured they were worth sharing because A) I was able to snap pretty narly pictures of them and B) they were actually edible and C) Addie just loved them and she’s my biggest critic.

The ease of this recipe is what makes it so good. That and the fact that it only contains 3 easy ingredients.

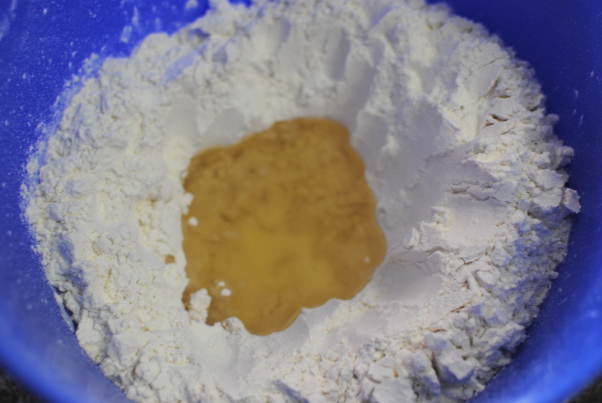
Start with 3 cups of self-rising flour. The self-rising part is very important so don’t use any other kind.

Or if you don’t have the self-riding kind, make your own self-rising flour with this recipe:

1 c. flour
1 & 1/4 tsp baking powder
1/4 tsp salt

Make a well in the middle with your wooden spoon and pour in 1/4 cup vegetable oil. Or canola oil, or whatever kind oil you have.

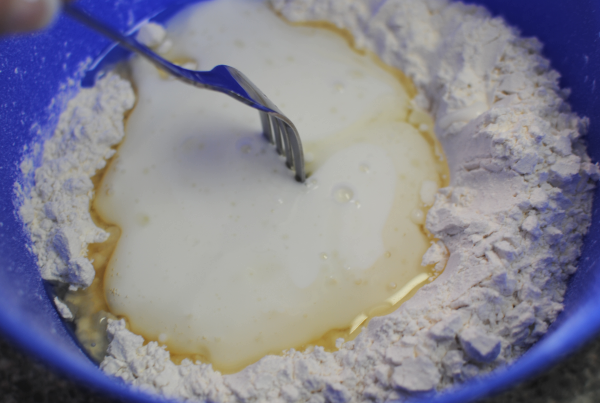
Next, slowly add in 1 & 1/4 cup buttermilk and then using a fork stir to combine. Don’t worry about it being all lumpy.

Lose the fork and then use the two best cooking utensils that God gave you, your hands. Knead the dough until well combined and then turn out onto a floured surface.

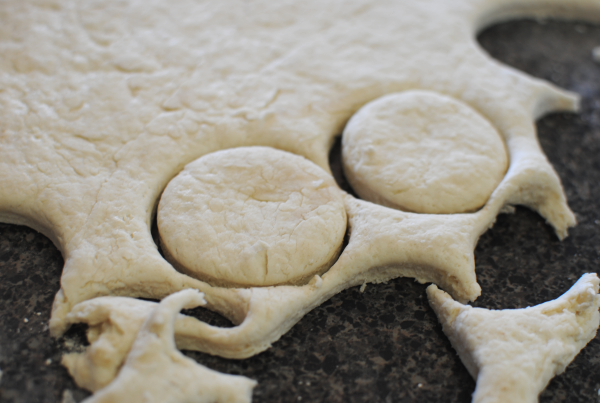
Roll it out, but not too thin. You want them pretty thick in order for them to rise a bit and have some fluff to them. Using a biscuit or cookie cutter, cut out circles and place them on your baking sheet.

Place them on the stove while you let your oven preheat to 400 degrees. This gives them some time to rise a bit. But just being honest, mine rose very little and they still turned out fine.

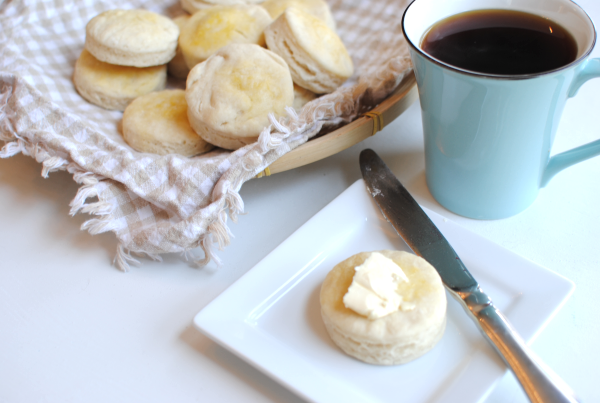
I also put a little square of butter on each of mine before I placed then in the oven. And then when I got them out of the oven I sprayed them with I Can’t Believe It’s Not Butter. Neither of those are required, but make them extra good.

Bake for 10 minutes.

All you need is a good old cup of coffee and some jam to go with your biscuit and you’re set.

These seriously were the easiest biscuits I’ve ever made. While they are buttermilk biscuits and don’t have that buttery taste like some biscuits, you can add whatever you like to them to make them yummy.

I think they would make great biscuits for making and freezing sausage biscuits!

3-Ingredient Buttermilk Biscuits
Recipe Type: Breakfast, Side, Bread
Author: Fun Cheap Free
Ingredients
  • 3 c. Self-Rising Flour + extra for counter
  • 1/4 c. Vegetable Oil
  • 1 & 1/4 c. Buttermilk
Instructions
  1. Place 3 c. flour in a large bowl. Using your hand or a wooden spoon, make a well in the middle. Pour oil into well.
  2. Slowly add the buttermilk and use a fork to combine. Don’t worry if it’s lumpy. Use your hand to knead it into a dough ball.
  3. Turn out onto a lightly floured surface. Roll it out leaving it fairly thick. Use a cookie or biscuit cutter to cut out circles and then place them on a baking sheet.
  4. Place on stove to rise while you wait for your oven to preheat to 400 degrees.
  5. Once preheated, (optional- place a tiny square of butter on top of each), bake for 10 minutes or until starting to get golden.
Notes

Her recipe said these only make about 6 or 7 biscuits, but I was able to get about 24 of them out of it. Mine were a lot smaller than hers, I’m sure. But they were plenty big for us.


Like this post? SHARE it!

Related Posts Plugin for WordPress, Blogger...

Slow Cooker Breakfast Casserole

We’ve made it to Friday my friends! I start looking forward to Friday beginning on Monday, don’t you?  I love Saturdays especially because there’s no rush to wake up and you can eat breakfast whenever you prefer. It’s always a good day of the week for a big breakfast since you can usually sit down as a family unit to eat without rushing off to work or school.

But who in the heck wants to slave over the skillet, or oven, or even microwave on a Saturday morning? Well that last one isn’t that difficult, but I must admit that I find it a little laborious sometimes. 😉 That’s when a slow cooker comes in handy. Making something up ahead of time to enjoy later is a win-win situation no matter how you look at it.
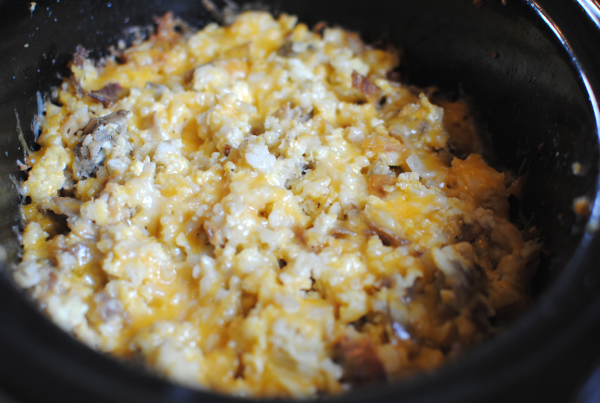
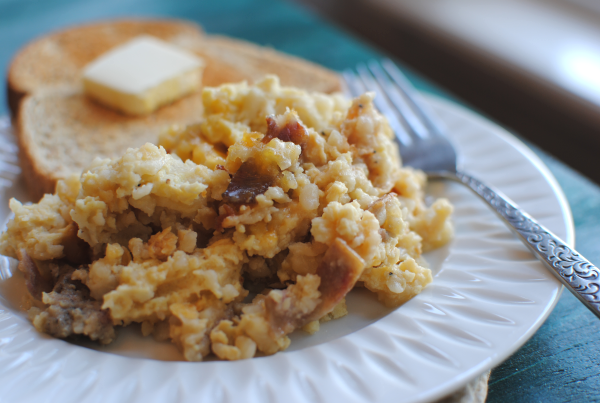
But for breakfast you say? Yep. Even breakfast. Your Christmas morning may never be the same again.

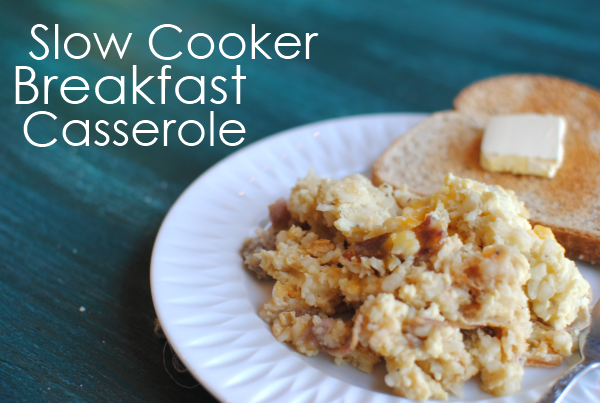
This is my version of a simple Slow Cooker Breakfast Casserole. This is made with things that I had on-hand. Very cheap to make and best of all, simple. My favorite part? It makes a TON! I’m able to make more than just 1 breakfast out of this which saves time and hassle for a few days to come.

I love Save-A-Lot’s 10 for $10 sales. You can’t go wrong with turkey bacon for a $1.You could also buy precooked bacon to make life easier if you’re willing to shell out the extra dough. Otherwise, it’s just a matter of cooking up the bacon before adding it to the crockpot.

Enjoy your weekend! I’ve got a special giveaway coming next week. I can’t wait to share!

Slow Cooker Breakfast Casserole
Recipe Type: Breakfast, Main Dish
Author: Pennywise Cook
Breakfast doesn’t get any easier than creating it the night before and have it wait for YOU in the morning!
Ingredients
  • 1 Package 24 oz Frozen Hashbrowns
  • 1 c. Onions, Chopped
  • 1 12 oz Package Sausage
  • 10 Pieces Turkey Bacon, Chopped
  • 12 Eggs, Scrambled
  • 3 Tbsp Chicken Broth
  • 1/4 Tsp Salt
  • 1/4 Tsp Pepper
  • 1 c. Shredded Cheddar Cheese
Instructions
  1. In a skillet, cook onions, bacon, and sausage until no longer pink.
  2. In slow cooker, place the hashbrowns and top with meat mixture.
  3. In a large bowl, scramble eggs and add the chicken broth and s&p. Pour over hashbrowns and meat mixture in slow cooker.
  4. Put lid on and cook on low for 4-6 hours. You can choose to stir it halfway through the cooking time if you prefer or leave it be. I did stir mine, but I think I’ll leave it next time.
  5. minutes or so until you plan to serve, sprinkle the shredded cheese over and replace the lid to let it melt.
Notes

If you’re making this overnight, you might even use the “warm” setting on your slow cooker to avoid overcooking.

I made this during the day (to have breakfast for dinner) and did not cook my meats through before hand. Mine cooked for 8 hours and I stirred halfway through.


Like this post? SHARE it!

Related Posts Plugin for WordPress, Blogger...

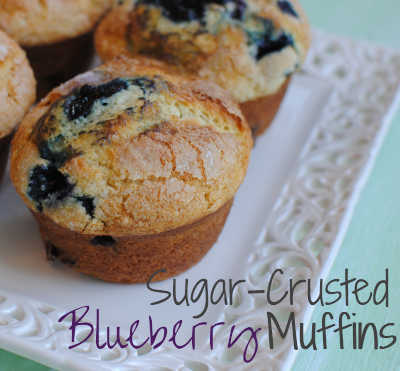
Sugar-Crusted Blueberry Muffins

I’ve always been a fan of blueberry muffins. You’d never know it. I can probably count on 1 hand the times that I’ve ever made them from scratch. The box mixes just make life  so much easier don’t they? Sure, but do they give as much satisfaction as saying that you “made them from scratch”? Sometimes it really just doesn’t matter though. You’re tired, the kids are hungry, you just want a muffin!  A very sweet friend of mine mentioned how much she loved Perkin’s muffins the other day. There’s one in my hometown where we visit often, but there aren’t any around here.

Apparently their Mammoth Blueberry Muffins are to die for.

My sweet friend seemed like she needed a little pick me up, so I decided to check around for a copy cat recipe of their famous muffins and whip some up. To my dismay, none of them really seemed to sound like they actually mimicked Perkin’s muffins. I decided to shy away from getting them just like Perkin’s and come up with my own kinda muffins.

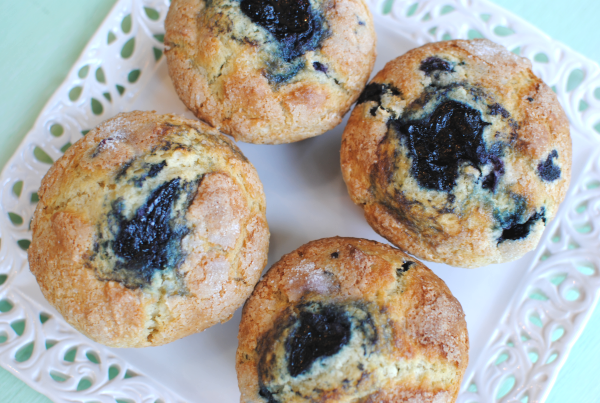
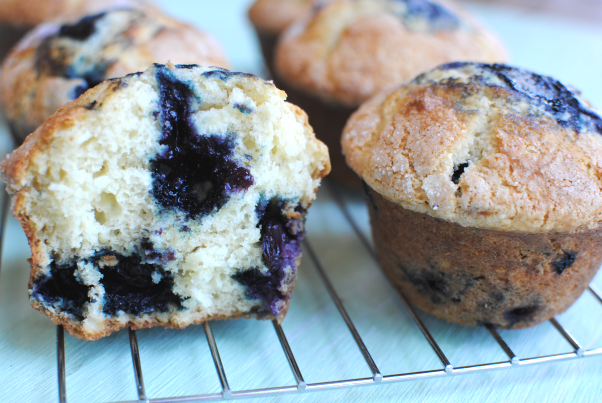
These turned out so absolutely fantastic! I really love when that happens. The stress of trial and error is surpassed with success. And boy were these a success. The breading part of these muffins is almost cakey thanks to a secret ingredient (which is not so secret anymore), sour cream. Not exactly something you’d expect to pair with blueberries, but tasty all the same. They boast a gooey blueberry jam filling and that’s in addition to the blueberries themselves, dispersed among the batter. What could top these better than a coating of sugar that has baked into a crust on top of the blueberry goodness?

A smear of butter while they are still warm, maybe.

Oh and I forgot to mention that these are in fact, mammoth. The batter only made 6 of a huge pan of muffins. So you’ll either have to make a second batch or prepare to share.

Sugar-Crusted Blueberry Muffins
Recipe Type: Breakfast, Dessert
Author: Pennywise Cook
Ingredients
  • For the Muffins
  • 2 cups flour
  • 1 cup sugar
  • 1 tsp baking soda
  • 1 tsp baking powder
  • 1 tsp vanilla
  • 1/2 tsp lemon extract
  • 2 eggs
  • 1 c sour cream
  • 1 cup blueberries
  • For the Filling
  • 1/4 c blueberries
  • 1/4 tsp cornstarch
  • 1 1/2 tsp sugar
  • For the Topping
  • 1/4 Tsp Sugar
Instructions
  1. Preheat oven to 375 degrees.
  2. Combine all muffin ingredients except blueberries in a bowl and mix well. Stir in1 c. blueberries.
  3. Meanwhile, microwave 1/4 c. blueberries with cornsstarch and sugar for 20 seconds at 50% power. Remove, much and stir and then continue microwaving for increments of 20 seconds until thicken and jam-like.
  4. Pour muffin batter in large, 6-ct muffin pan and create small wells in each.
  5. Using a piping bag or ziploc bag, fill each muffin’s well with filling.
  6. Sprinkle each with 1/4 tsp sugar.
  7. Bake for 22 minutes or until tops are golden brown.
Notes

Note- if you use smaller muffin tins, you may need to adjust your cooking times down.


Like this post? SHARE it!

Related Posts Plugin for WordPress, Blogger...

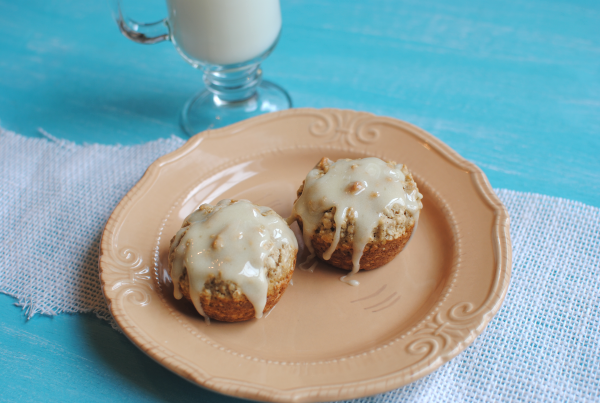
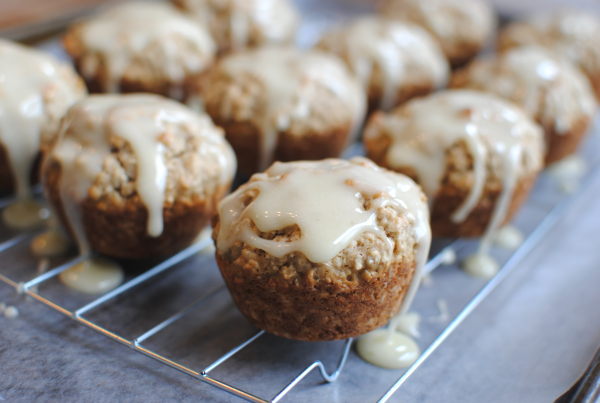
Marshmallow Glazed Oatmeal Muffins

It’s Friday the 13th! Who is up for a Jason marathon? Not me, but the thought sounded fun anyways. 🙂

I always have good intentions, don’t you? It’s funny how things can sometimes work out completely different than you really intend them to. For instance, some days I plan my entire day around cleaning the house. The perfect example of a good intention. And then some unforeseen, crazy, busyness takes over and the dishes pile up while the laundry remains unfolded. But I take comfort in knowing that I really did plan on making my house spotless…. That is, until I can’t see my floor because it’s covered in toys.

My first intention for this recipe today was to make homemade oatmeal cream pies. And then my second intention was to make oatmeal cream pie cupcakes. They eventually turned into more of a muffin and instead of the everyday marshmallow cream filling, I decided to glaze them. Though they ended up completely different than what I had intended, I must say that they are fabulous just the same!

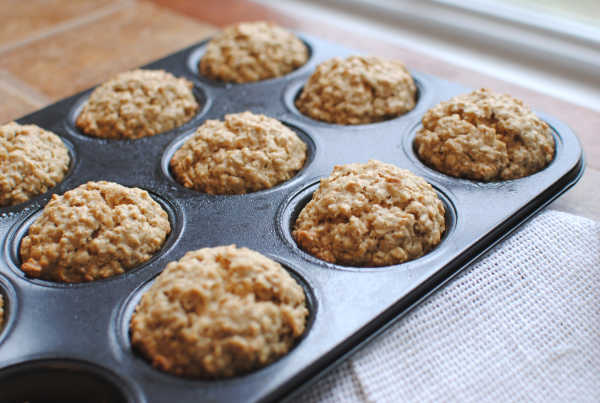
It might just be impossible to dislike oatmeal muffins. Even those who don’t like oatmeal usually like oatmeal muffins. And if they don’t then they are really missing out my friends. They are dense (the muffins, not the people who dislike them) and yet still so cakey and muffiny. You like those words there don’t you?

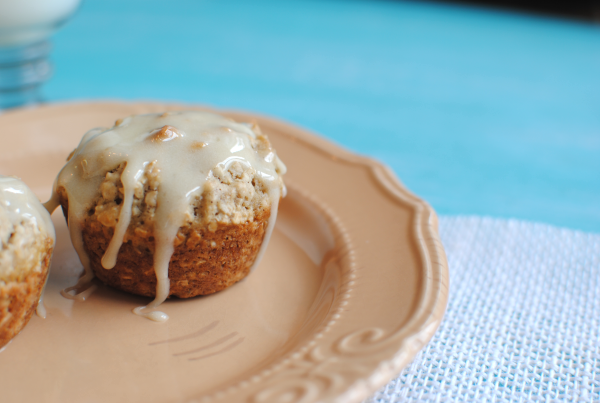
Believe it or not, these are actually not that bad calorie-wise. I did what I could to create them with low calorie ingredients, including the glaze. So you won’t have to feel too bad for inhaling a few. The glaze firms up a bit and starts to get back to it’s marshmallow form after they have sat for a bit. My Addie kept laughing because she would get a marshmallow mustache after taking bites.

Just perfect for breakfast or perhaps a brunch, they do have a certain oatmeal cream pie-esqe taste to them. They definitely satisfy my sweet tooth and yet are so filling that I don’t need anything else for breakfast. Except for MILK. You will need milk for sure.

So how do you think my intentions turned out?

Question of the day: Can you count how many times I used any variation of the word intention in this post?

Marshmallow Glazed Oatmeal Muffins
Recipe Type: Breakfast
Author: Pennywise Cook
Prep time: 10 mins
Cook time: 13 mins
Total time: 23 mins
Serves: 11
This muffin recipe intended to mimic oatmeal cream pies takes the famous snack to a whole new level.
Ingredients
  • For the Oatmeal Muffins
  • 6 tbsp butter (I use Blue Bonnet Light)
  • 1/4 c. Unsweetened Applesauce
  • 1/2 c. Brown Sugar
  • 1/2 c. Granulated Sugar
  • 3 Egg Whites
  • 1 Tsp Vanilla
  • 1 and 1/2 c. all-purpose flour
  • 1 Tsp Baking Soda
  • 1/2 Tsp Cinnamon
  • 1/2 Tsp Salt
  • 2 Cups Oats (Quick Cooking)
  • For the Marshmallow Glaze
  • 2 c. Marshmallows (big or little)
  • 2 Tbsp Skim Milk
  • 2 Tbsp butter
  • 1/4 c. Powdered Sugar
Instructions
  1. Preheat oven to 350 degrees. Cream together butter, sugars, and applesauce. Add in egg whites and vanilla.
  2. Sift flour, baking soda, cinnamon and salt together. Slowly add to sugar mixture and beat until combined.
  3. Stir in the oats. Using an ice cream scoop, scoop equal amounts into greased muffin tin.
  4. Bake 13 minutes or until golden brown.
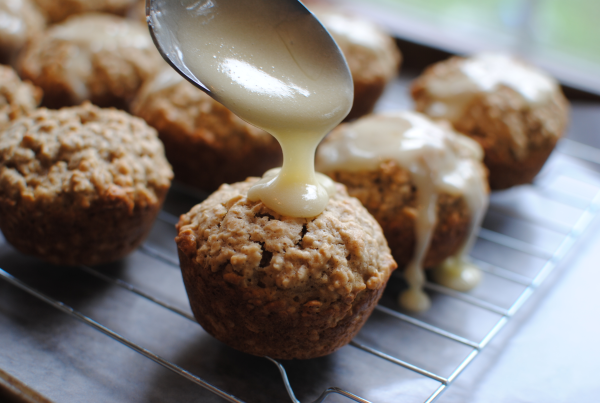
  5. Meanwhile, in a saucepan place the butter, skim milk and marshmallows and cook over medium heat stirring constantly. Once the marshmallows are completely melted and smooth, stir in the powdered sugar.
  6. Remove muffins from oven and place on cooling rack with wax paper underneath. Carefully glaze each muffin and allow to cool.
Notes

This recipe will make about 11 muffins, maybe 12 if you make your batter go further.


Like this post? SHARE it!

Related Posts Plugin for WordPress, Blogger...