My Momma’s Chili

The day has finally come when I get to share with you one of my favorite recipes of all time. Now that it’s getting chillier outside, it’s time to make up a big pot of chili! I look forward to this part of the year practically all year long.

This my friends, is my momma’s chili recipe. She’s been making it for us since I can remember and it’s the best that I’ve ever eaten. It could be that I’m biased because, well, it is my momma’s. But I’m going to say that this isn’t the case because I’ve tried a lot of chili in my time. I even had the opportunity to go to Cincinnati recently and try the “world famous” Skyline Chili.  It was just ok to me. I don’t really understand the hype behind it to be honest.

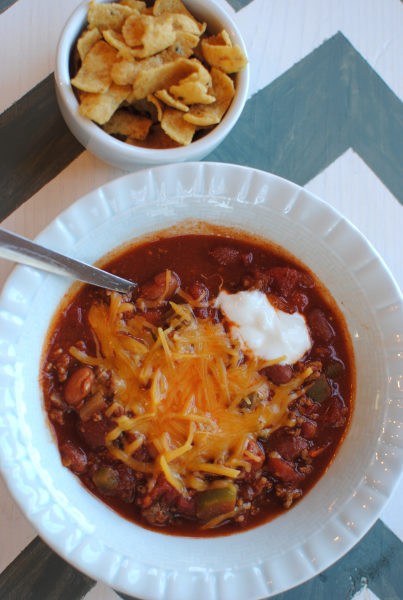
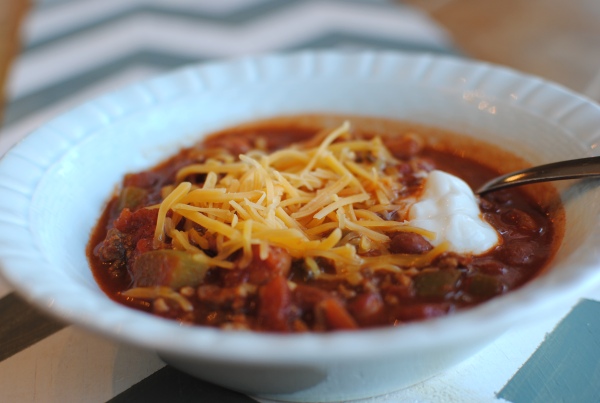
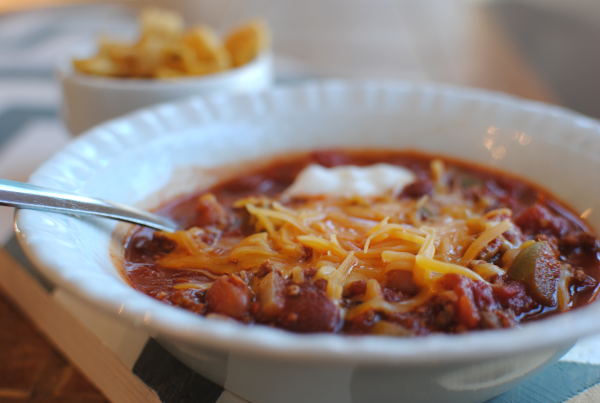
Maybe I’m just a southern gal, but I like my chili to be extra chunky. It’s got to be hearty and fill me up and keep me warm. After all, what’s the point in eating chili otherwise?

I asked you guys on the Pennywise Cook Facebook Community recently if you enjoy your chili with corn chips or cornbread. I guess I should’ve included crackers because many of you said that’s what you eat yours with.

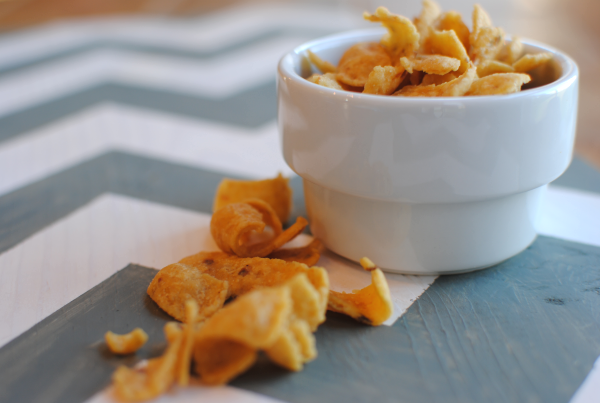
I have grown up eating chili with corn chips. I just couldn’t imagine eating chili any other way. They are like peanut butter and jelly to me. However, it was pointed out that this is almost more like a Frito Pie rather than chili. So if you prefer, eat your chili with whatever you’d like. Cornbread, crackers, corn chips, or nothing at all!

No matter what you eat your chili with, I highly recommend this recipe if you’re going to make chili. It’s full of flavor and perfect for a weekday or weekend meal. Plus a pot of this stuff will last you all week! That’s one of my favorite things about making up a big pot. We’ll have lunches covered for days. And because it’s so good, you won’t hardly get tired of eating it.

This is a crockpot-friendly meal, but I can assure you that it comes together rather quickly. The key is to brown your ground beef along with the onion, green pepper, and garlic. This saves so much time. Then it’s just a matter of heating everything else through.

You may never make another chili recipe again…

My Momma’s Chili
Recipe Type: Main Dish
Author: Pennywise Cook’s Momma!
This chili recipe is hearty and filling and may be the last chili recipe you ever make!
Ingredients
  • 1 lb Lean Ground Beef
  • 1 Onion, Chopped
  • 1 Green Pepper, Chopped
  • 3 tsp Minced Garlic
  • 28 oz Can Diced Tomatoes (undrained)
  • 6 oz Can Tomato Paste
  • 3 cans water
  • 15 oz Can Light Kidney Beans (drained)
  • 15.5 oz Can Pinto Beans (drained)
  • 3 Tbsp Chili Powder
  • 1 Tsp Salt
  • 1/4 Tsp Pepper
  • 1/2 Tsp Garlic Powder
  • 1 Tsp Cumin
  • Dash salt and pepper
Instructions
  1. In a large pot or dutch oven, brown ground beef along with onion, green pepper and garlic. Add salt and pepper to taste. Drain if needed.
  2. Stir in diced tomatoes, tomato paste, 3 tomato paste cans of water, kidney beans, pinto beans. Heat oven medium high for about 10 minutes.
  3. Stir in chili powder, salt, pepper, garlic powder, and cumin. Stir well and bring to a boil. Lower heat and simmer for about 5-10 minutes or until heated through.

Like this post? SHARE it!

Related Posts Plugin for WordPress, Blogger...

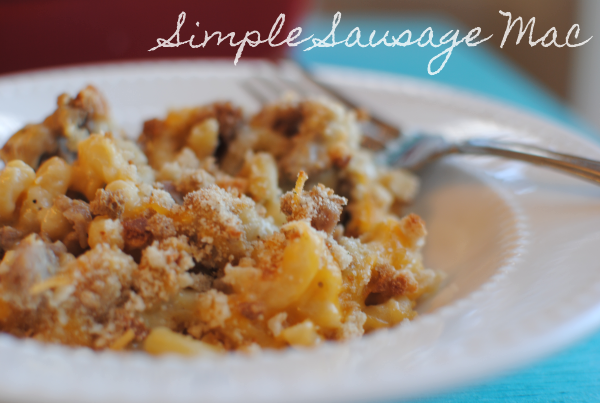
Simple Sausage Mac

Are you ready for Halloween yet? Well you better get that way because it’s on Wednesday! Can you really believe that we have already reached the end of October? I’d really love for someone to explain to me where the rest of this month has slipped away to. Maybe I’m just getting old or maybe time is speeding up. Either way, I’m going to hold on tight.

The weather is finally starting to cool off around here. I absolutely love the fall. Well, let me just say I love being cozy. I hate being cold, but I love being cozy. I’ve got a bunch of warm and comforting recipes coming up that I can’t wait to share with you. The fall is really when I have the most fun cooking. You can make up a big pot of something that sticks to your bones.

One of the first “comfort foods” that comes to mind practically anytime I hear that phrase is macaroni and cheese. It doesn’t get much more comforting than that. I’ve seen mac & cheese turn a frown completely upside down! Especially when it’s homemade. The boxes are good, but homemade is better.

And you know that here in the south, macaroni and cheese is considered a vegetable at most meat and threes….

The only issue that I’ve ever had with macaroni and cheese is that it’s so good that I eat too much. Well that and the fact that it needs a little bulking up so that it can be worthy of being called a meal. After all, we wouldn’t want to make mac & cheese only a side dish. It’s worthy of being the main attraction with a little adjustment.

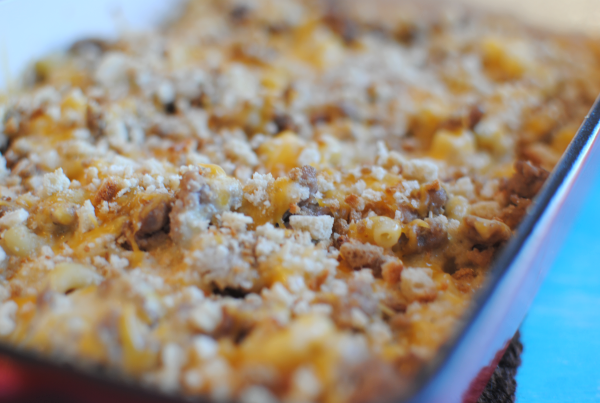
One of my favorite things about this macaroni and cheese is the secret topping. No longer a secret because I’m about to share it with you! We’re heading for Thanksgiving and there will be deals out the wazoo on stuffing mix. THAT my friend is a little something extra that can give macaroni and cheese a little spice. Breadcrumbs are great, but stuffing mix adds a little more crunch and even some nice flavor. I used Stove Top’s version for this. You can use whatever you’d like of course.

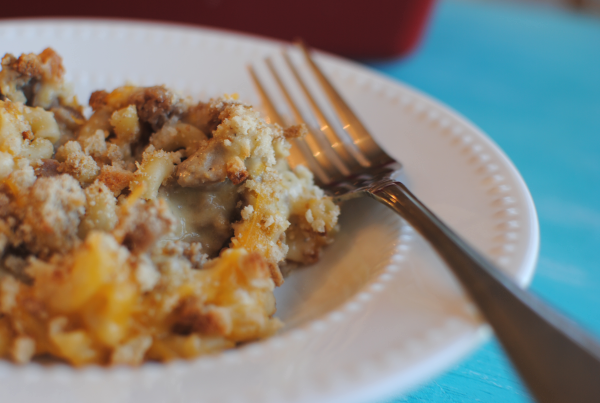
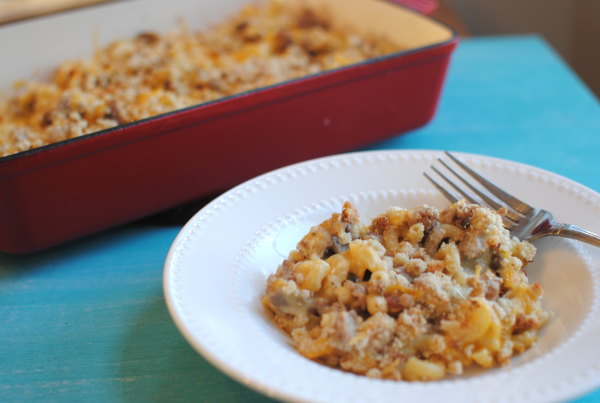
I bulked this up with sausage to give it a little flavor and to make it meaty. So yummy and extra comforting. I’d almost make this for a brunch!

Recipe adapted from Butter Busters Cookbook.

Simple Sausage Mac
Recipe Type: Side Dish, Main Dish
Author: Adapted from Butter Busters Cookbook
Bulk up your everyday mac & cheese and make it meaty. Perfect for dinner any night of the week!
Ingredients
  • 1 lb Turkey Sausage, Browned and Drained
  • 3 tbsp Melted Butter (light)
  • 1 and 1/2 tbsp flour
  • 1/2 tsp salt
  • 1/2 tsp pepper
  • 2 cups Skim Milk
  • 1 tbsp Melted Butter (light)
  • 2 cups Elbow Macaroni, Cooked
  • 1 tbsp Onion, Grated
  • 1/2 tsp salt
  • 1/4 tsp pepper
  • 2 cups Reduced fat Shredded Cheddar Cheese
  • 1/2 c. Crushed Cubed Style Stuffing Mix
Instructions
  1. Preheat oven to 350°.
  2. Combine 3 tbsp melted butter, flour, salt, and pepper in a small sauce pan. Slowly add skim milk and whisk well. Bring to boil, then lower temp until thickens. Set aside.
  3. Spray a 2 quart baking dish with non-stick cooking spray. Place half of the macaroni in the dish. Spread half of the cooked sausage over the noodles. Sprinkle half of the grated onion, salt, pepper, sauce, and cheese. Repeat layer. Drizzle 1 tbsp melted butter over top. Sprinkle with remaining cheese. Sprinkle crushed stuffing over the top. Cover and baked for 30 minutes. Then uncover and bake an additional 10 minutes.

Like this post? SHARE it!

Related Posts Plugin for WordPress, Blogger...

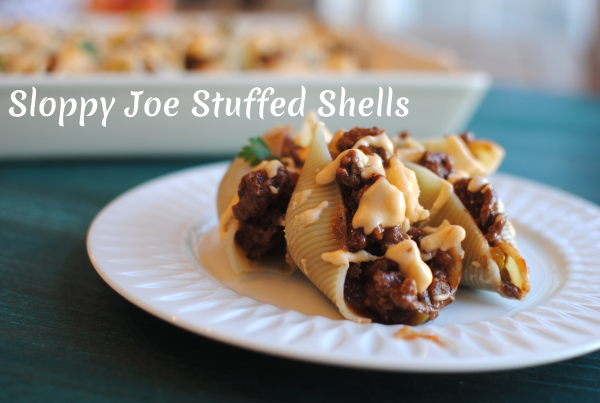
Sloppy Joe Stuffed Shells

I am always on the lookout for ways to change up everyday meals. Meatloaf and pizza are good. Don’t get me wrong. But sometimes, they just get old and boring. I have a lot of fun experimenting with food. It’s kind of a hobby of mine. It’s why this blog exists!

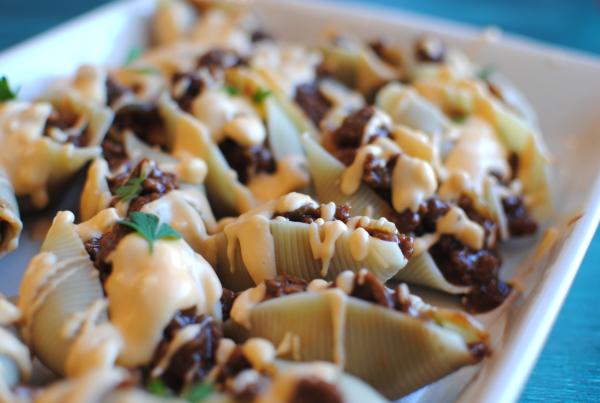
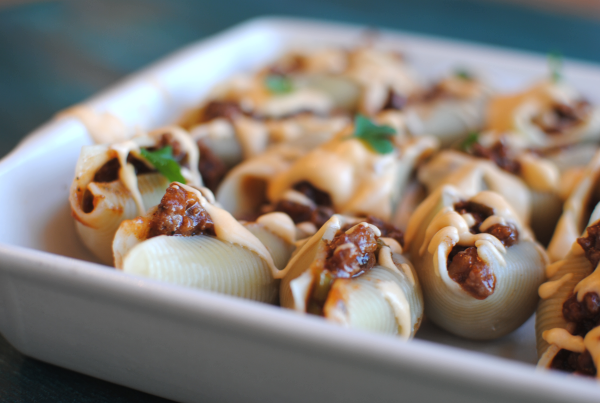
Stuffed shells are a family favorite. There are so many variations and concoctions that you can stuff them with. My latest creation? Sloppy Joe Stuffed Shells.

Sloppy Joes are so simple to whip up on a week night for dinner, but guess what? They are sloppy! (whodathunkit?) I was thinking that if we could eat them in shells, they might stay contained and actually be easy to eat.

Hey, we could get rid of that sloppy and just call them Joes! Joe Stuffed Shells……hmmm. Nah. You could possibly call them Not-So-Sloppy Joe Stuffed Shells. That’s too long. I give up. We’ll stick with Sloppy Joe Stuffed Shells.

These aren’t made with the canned Sloppy Joe sauce. It’s homemade and extra easy. I even got to use a green pepper from my garden in it. I’m sure that you’re wondering about the cheese sauce on top there. Well, you see, my husband likes to add cheese to just about everything. And following suit, he asked if I could drizzle some cheese sauce on top of the shells too. I did this for him. Feel free to add it if you like, but they are still just as great without the cheese sauce.

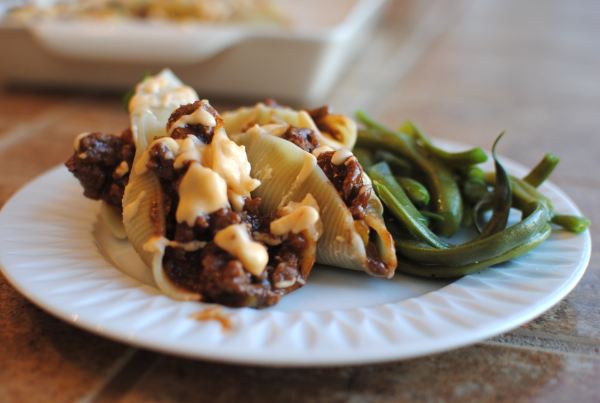
Just as I suspected, these were quite neat to eat! Much neater than a messy old Sloppy Joe Sandwich. My husband isn’t a huge fan of Sloppy Joes themselves. We came to the conclusion after this meal that it was in fact, because they are sloppy. The shells make it really easy to keep all the yummy and sweet meat inside. Which means that you’ll most likely end up eating them with your fingers.

We did and we’re not ashamed!

The best part about this meal is that it’s super affordable. With the meat of your choice (ie ground beef, ground turkey, even chicken!), a few handy sauces, and simple spices, these shells comes together in no time and don’t even require baking.

Sloppy Joe Stuffed Shells
Recipe Type: Main Dish,
Author: Pennywise Cook
Believe it or not, Sloppy Joes don’t have to be sloppy when you make them in shells like this!
Ingredients
  • 1/2 Package Jumbo Shells (you can make an entire box, but you won’t need it)
  • 1 lb Extra lean Ground Beef
  • 1/2 c. Onion, chopped
  • 1/2 c. Green Onion, Chopped
  • 1 Clove Garlic, minced
  • 1/4 tsp salt
  • 1/2 c. Ketchup
  • 1/2 c. BBQ sauce (your choice)
  • 2 tbsp Brown Sugar (I used Splenda Brown)
  • 1/2 tsp Italian Seasoning
  • For Cheese Sauce
  • 2 tbsp Butter
  • 1/4 c. Skim Milk
  • 4 oz Cream Cheese
  • 1 c. Shredded Cheddar Cheese (Reduced Fat)
Instructions
  1. Prepare noodles according to package. Drain and set aside to cool.
  2. In a large skillet, brown ground beef with onion and green pepper. Drain and add in all other ingredients. Simmer for 5-10 minutes or until warmed through.
  3. Stuff shells with meat mixture.
  4. For cheese sauce- melt butter in a small sauce pan. Add the skim milk. Melt in the cream cheese stirring until smooth. Add in shredded cheese until melted and smooth. Drizzle over stuffed shells.
Notes

These could even make little appetizers at a party!


Like this post? SHARE it!

Related Posts Plugin for WordPress, Blogger...

Pizza Quesadillas

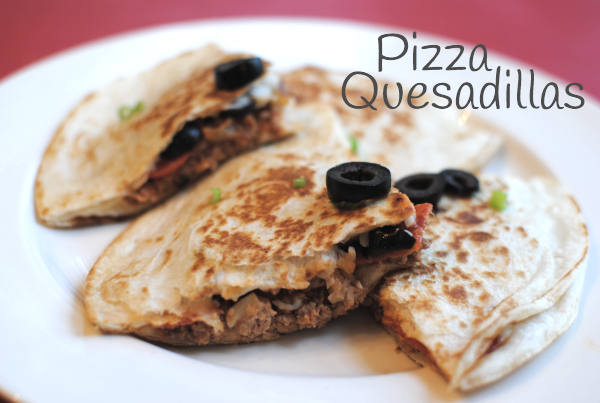
Every now and then to change lunch up just a bit, I make what my little girl what she likes to call “pizza tacos”. I use a tortilla and spoon on some pizza sauce (or sometimes just tomato sauce) along with some pepperoni and mozzarella cheese. I roll them up and microwave them for a few seconds to help the cheese melt. It makes a really tasty lunch. After making one for her the other day I got to thinking about how the same might taste good in a quesadilla.

The idea eventually made its way to my menu plan and I was excited about that night. It was another one of those dinners that I knew everyone would love.

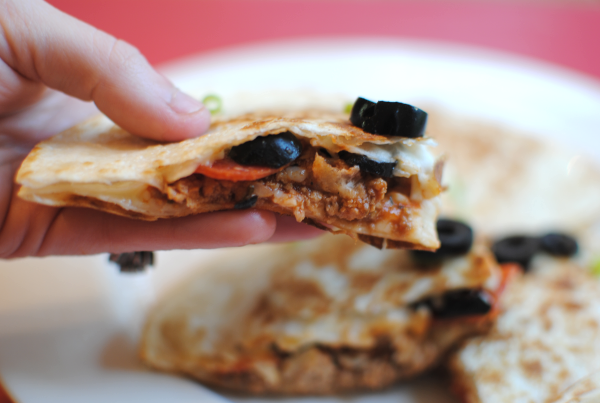
One of the best things about making these quesadillas is that you can customize them to the eater’s liking. For instance, I like my pizzas with everything on them. Well, minus any small fish or fungi. My daughter and husband? Not so much. Strictly cheese and pepperoni. But I did add some meat to the mix for substance since this is for dinner after all.

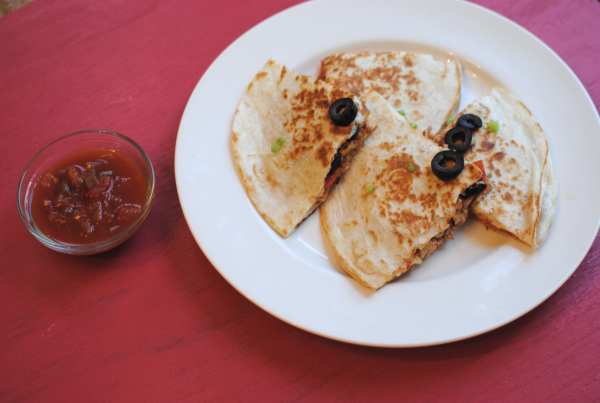
These were a major hit with the fam. I even told my hubby that I have to hand it to myself, they are pretty good. I dunked mine in salsa although some might find that a little weird. Pizza and salsa don’t exactly go together, but they tasted fine to me. You could dip them in more pizza sauce. I’m sure that would be tasty.

Oh yeah. That’s obviously a picture of my quesadilla with olives and all. Feel free to leave those off if you must.

Here’s the recipe.

Pizza Quesadillas
Recipe Type: Main Dish
Author: Pennywise Cook
Serves: 4
Make this every day Mexican dish and make it Italian. These Pizza Quesadillas are extra tasty!
Ingredients
  • 1 lb Ground Turkey
  • 1 Tsp Minced Garlic
  • 1 Tsp Onion Flakes
  • 1 Tsp Dried Oregano
  • 1/2 Tsp Dried Basil
  • 1 Cup Pasta Sauce
  • Sliced Olives
  • Pepperoni
  • 2-3 c. Shredded Mozzarella Cheese
  • 8 Medium tortillas
  • Cooking Spray
Instructions
  1. Brown ground turkey with garlic, onion flakes, oregano, and basil. Add pasta sauce and cook for about 5 minutes.
  2. Heat a skillet to medium high heat. Spray with cooking spray. On a tortilla place about 1/3 c. shredded cheese, then some of the meat mixture, then top with optional olives and pepperoni. End with cheese and top with second tortilla. Place into heated skillet for about 2-3 minutes.
  3. Spray top tortilla with cooking spray then flip the entire quesadilla with spatula.
  4. Repeat for next 3 quesadillas.
Notes

This makes about 4 quesadillas that make 4 squares each. They are surprisingly filling too!


Like this post? SHARE it!

Related Posts Plugin for WordPress, Blogger...