Birthday Cake Crispy Treats

Birthday Cake Crispy Treats

Long time now see, eh? Only since February. That’s not too long is it? Nah. We’re all busy folks.

How have you been? That’s good to hear. 

I’ve been doing well. Just a teensie bit busy, but good. I have been thinking about you and how I have left you hanging for months without a recipe. Then today, I whipped up something that I thought was worth sharing. 

And here we are!

Crispy Treats 2

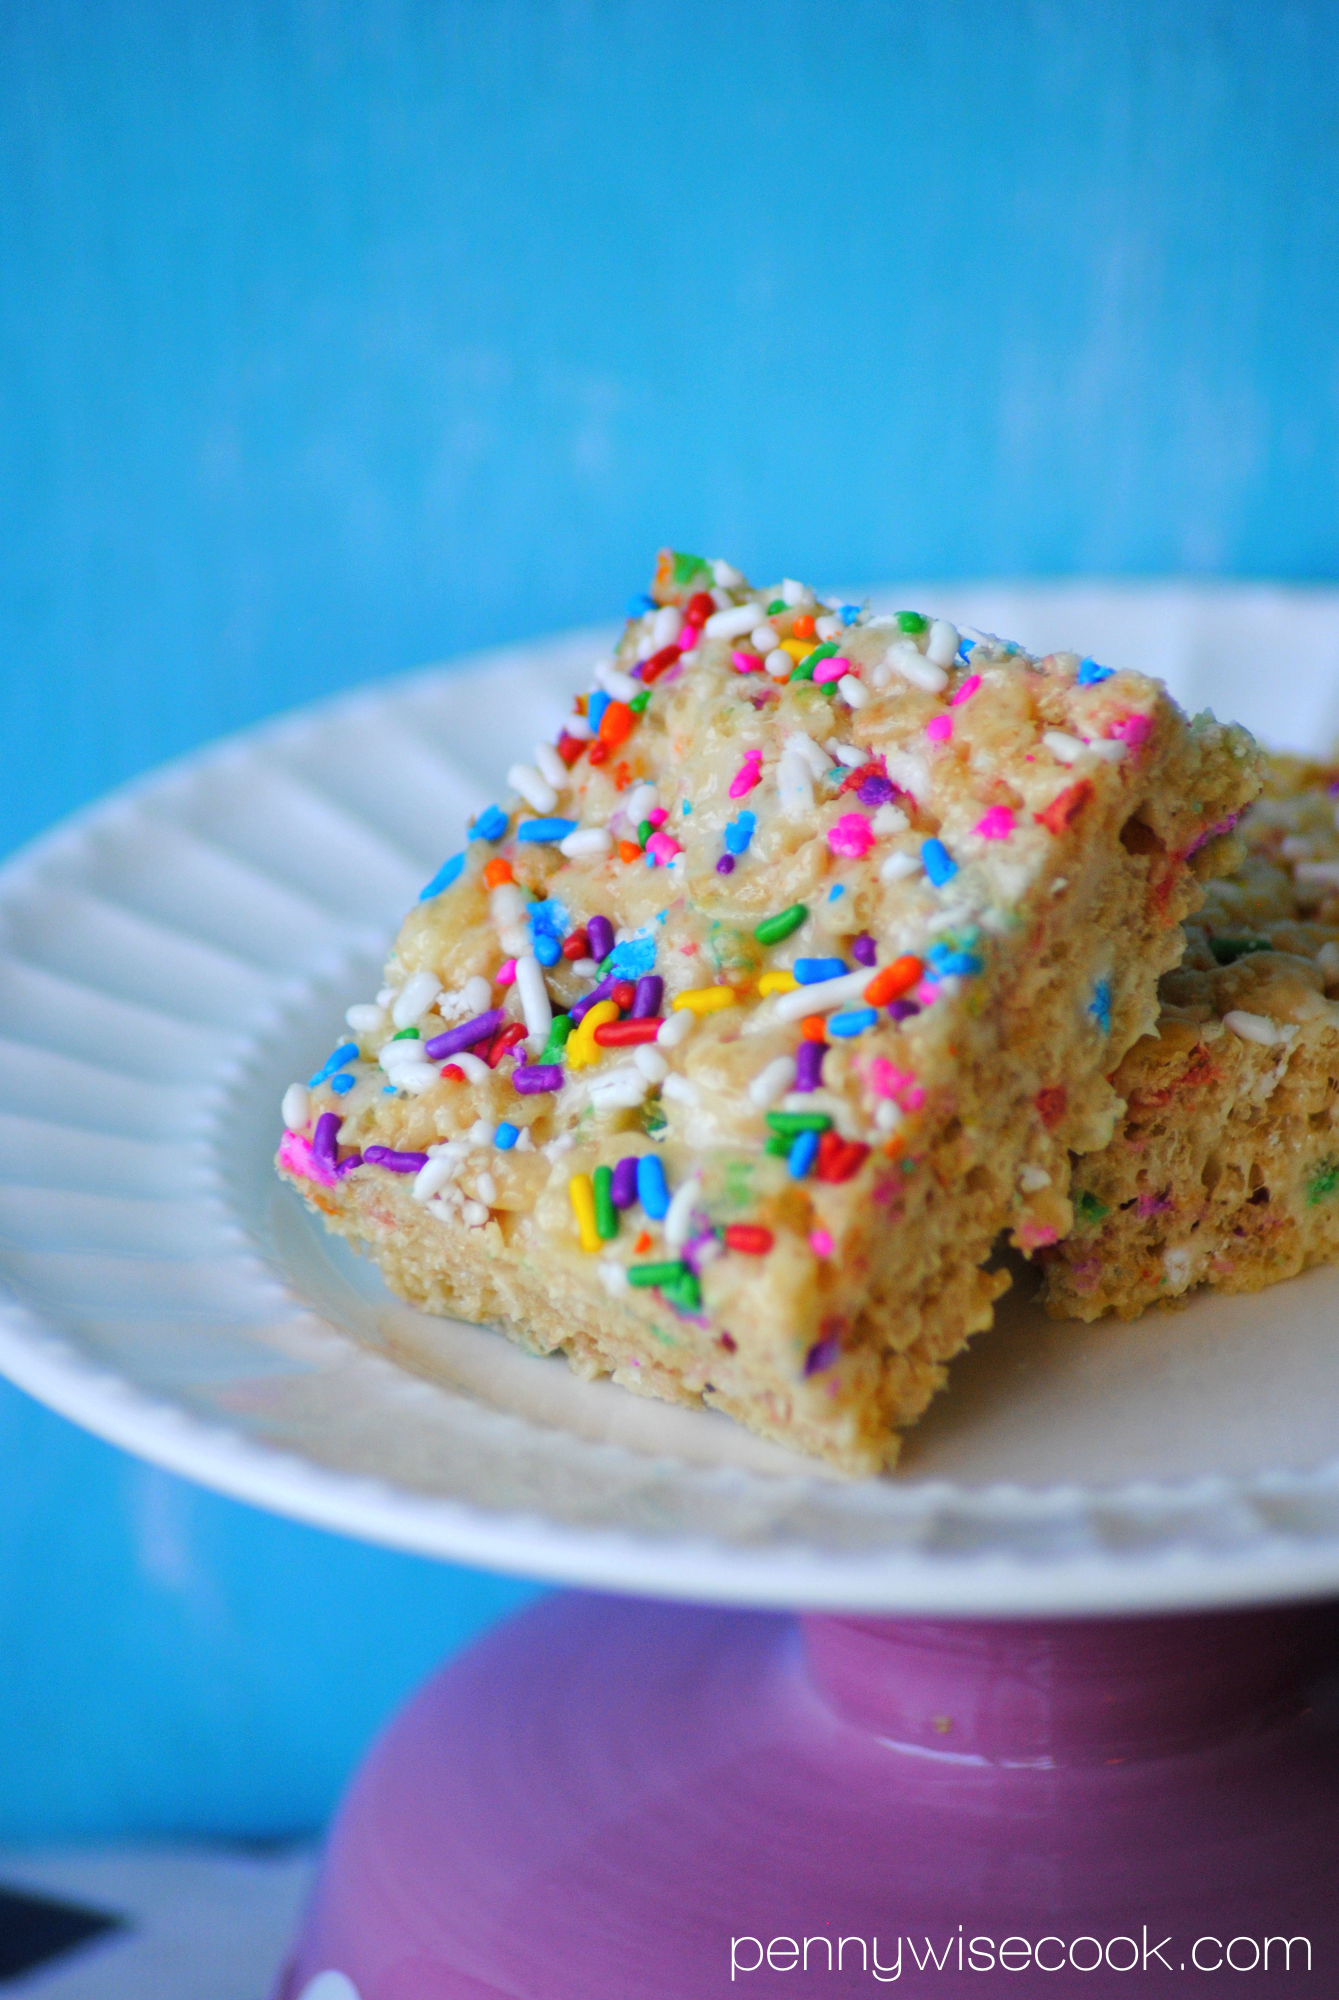
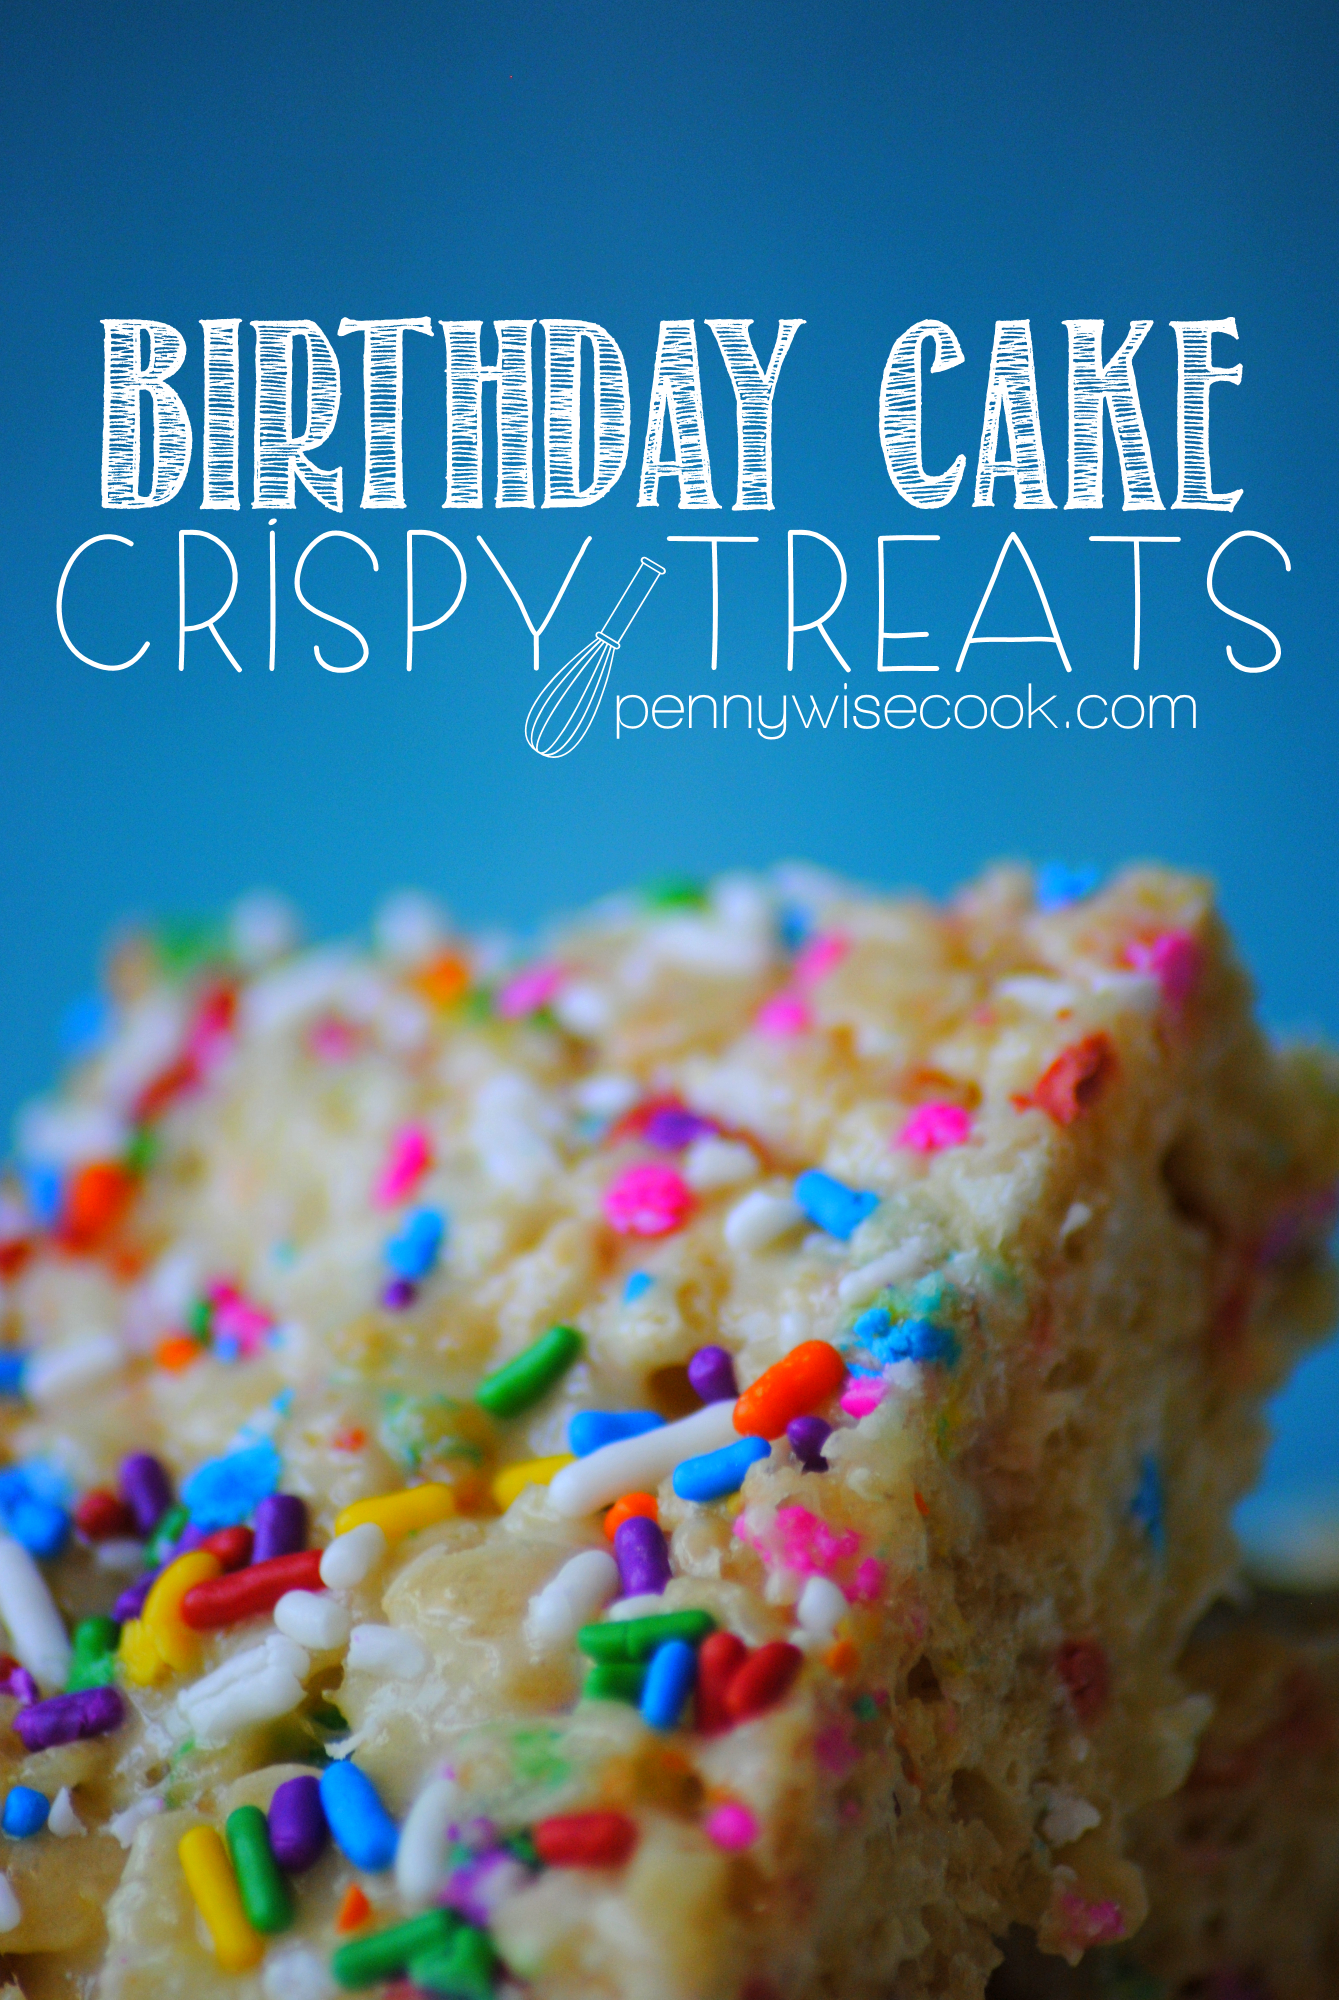
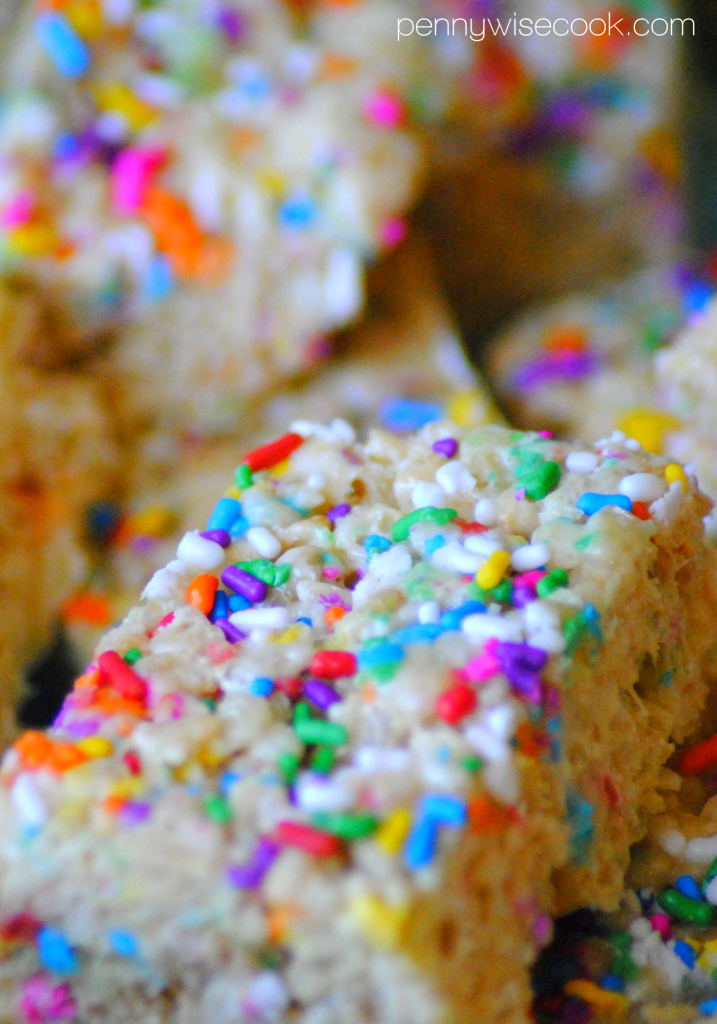
These, ladies and gentlemen, are Birthday Cake Crispy Treats. Made with all the same ingredients regular crispy treats are, except cake mix is added.

And sprinkles.

They are incredibly simple, uber tasty, and contain enough sugar to send you to the moon.

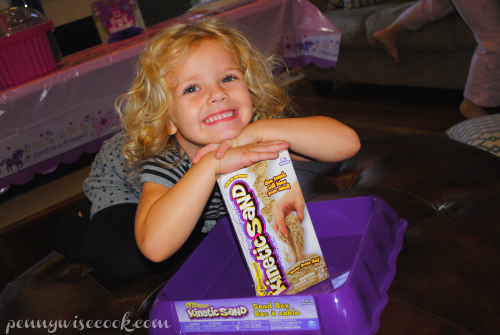
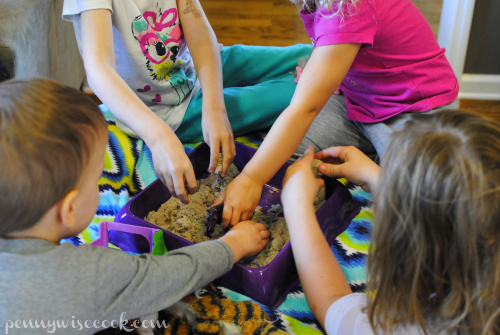
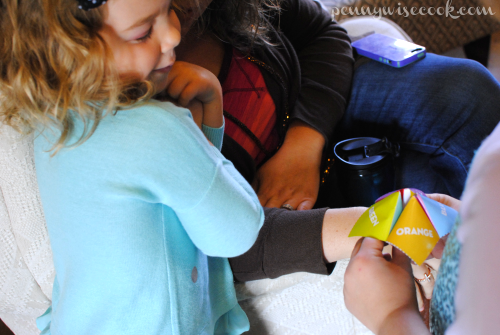
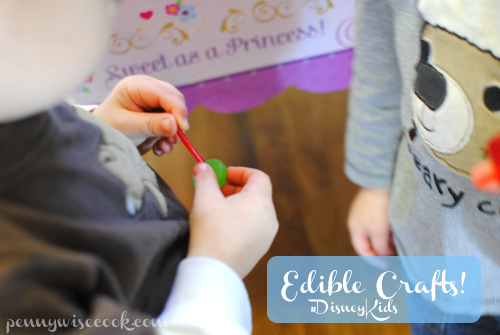
My 4 year old helped me in the kitchen to make these today. She is a great spoon-licker! And I don’t mean to toot my own horn, but I am too. 

Crispy Treats 3

Birthday Cake Crispy Treats
Birthday Cake flavored Crispy Treats!
Write a review
Print
Ingredients
  1. 4 tbsp Butter
  2. 1 Bag (10 oz) Mini Marshmallows
  3. 1/2 c. Dry Yellow Cake Mix
  4. 5 c. Crispy Rice Cereal
  5. 1 Container Sprinkles
Instructions
  1. In a large sauce pan, melt butter over low heat. Add marshmallows.
  2. When the marshmallows begin to melt, remove from heat and add dry cake mix.
  3. Stir in cereal until its coated well with marshmallow mixture. Sprinkle in half of the sprinkles. (Don't over-stir or the sprinkles colors will bleed)
  4. Press the mixture into a greased baking dish. Top with the other half of the sprinkles.
  5. Wait at least 30 minutes before cutting and serving.
Notes
  1. Before you stir the cereal together with the marshmallow mixture, you might spray the spoon with cooking spray to avoid sticking.
Adapted from Gimme Some Oven
Pennywise Cook http://www.pennywisecook.com/

Like this post? SHARE it!

Related Posts Plugin for WordPress, Blogger...

Valentine Pies

Valentine Pies 2

I love Valentine’s Day. Not because we get all romantic and stuff, but because it’s such an easy holiday to decorate for. 

Throw up some things that are red, pink, or white and you have got yourself some Valentine’s spirit. Not to mention that hearts are everywhere. All the dollar stores are brimming over with decor and treats galore. And the love things makes it pretty cool too. 😉

Our anniversary is just 2 weeks after Valentine’s Day so we never get too mushy on the 14th. But I love helping my daughters get their little Valentine cards and treats ready for school that day.

Ah, yes. The days when you could use cheesy lines and call everyone your Valentine!

I made up these little heart Valentine Pies the other day and I must say they were a hit. I’m sure these have been done before, but I have never made them before now. SO simple. 

I think they would make a great treat for my daughter to take to school on Valentine’s Day!

Valentine Pies 1

I used store bought pie crusts. You know me! I rolled them out and used a $.50 cookie cutter to cut out little hearts. I will use a bigger cookie cutter next time as these were just a taddy bit too small.

I dropped about a teaspoon of canned cherry pie filling into the middle of the heart and topped it with another pie crust heart.

I used a fork to crimp all of the edges. Helps to keep it from coming apart while it’s cooking.

Lastly, I cut a X in the middle to keep it from puffing up in the oven.

Valentine Pies 3

Make these extra tasty by dropping a dollop of whipped cream on top when they are warm! Use any pie filling you’d like or make your own.

Easy as pie!

Valentine Pies
Give your Valentine more than a card. Give them a PIE!
Write a review
Print
Ingredients
  1. 2 refrigerated pie crust, brought to room temp
  2. 1 (20 oz) can pie filling, you won't need it all
Instructions
  1. Preheat oven to 450°.
  2. With first pie crust, cut hearts out and place onto cookie sheet. Add about a teaspoon of pie filling to each heart.
  3. Cut out hearts from 2nd pie crust. Top each pie filling heart with another heart. Crimp closed with fork.
  4. Bake for 8-10 minutes watching to make sure edges don't burn.
  5. Let cool!
Notes
  1. You'll need a heart-shaped cookie cutter and a fork!
Pennywise Cook http://www.pennywisecook.com/

Like this post? SHARE it!

Related Posts Plugin for WordPress, Blogger...

#DisneyKids Preschool Playdate!

Table


I received free products in order to host the Disney Kids Preschool Playdate. The opinions are 100% my own.

Now that school is back in session, playdates are at an all-time low. At least around here. Even if my preschooler isn’t going to school tomorrow, her sister is and that makes it a school night. My youngest doesn’t need school as an incentive to waking up early though. Noooooo, she wakes up like clockwork around daybreak. Keeps mommy on her toes! 

…and full of coffee!

My preschooler, most of the time, is very independent. But she really likes to be around others. She likes to pretend with others and do puzzles. She likes to read books. You know what else she likes? 

Princesses!

I was recently chosen to host a Disney Side Disney Kids Preschool Playdate and I was stoked. I’m sure that my little one would have been too, but I chose to keep it a secret until the very day of! This turned out to be a fantastic decision. She was completely surprised!

Kinetic Sand

I was sent a HUGE box of amazing Disney decorations, treats, and fun for the kiddos to enjoy. This was her with the Kinetic Sand. This stuff is SO cool y’all. 

It’s kinetic meaning it sticks to itself and not to you! It oozes, moves and melts right before your eyes. It flows through your fingers like a slow-moving liquid, but leaves them completely dry. Kinetic Sand stimulates children’s creative skills allowing them to create anything they can imagine over and over again. Kinetic Sand never dries out and is gluten free. This soft and stretchy sand easily cleans up while delivering non-stop fun! It’s squeezable sand you can’t put down. Feel the difference with Kinetic Sand! Made for kids ages 3+

I must admit that I had almost more fun with it than her, but I promise I shared.

Kinetic Sand Play

They couldn’t stay away! It’s so smooth and molds to whatever shape you want to make. And the Kinetic thing, it’s awesome. To watch it ooze out of your hand and fall it’s almost therapeutic.

Sophia The First Cupcakes

With the majority of decor we received being Sophia The First, I decided to make these cupcakes to match! Knowing that these were preschoolers, I decided to go easy on the frosting, keeping naptimes in mind.

Cupcake on Sophia the First Plate

They turned out cute, didn’t they!

Princess Party

By the time that I unpacked all the goodies, it looked like a grand princess affair! All the kiddos were so excited and their eyes lit up when they walked in to find this waiting on them. It was magical!

Fortune Teller Craft

We did a few fun activities that were provided and they loved this “Which Disney Junoir Character Are You” Fortune Teller game. The name says it all. Guess who I was EVERY time? Handy Manny! The girls were so happy when they got Sophia The First!

Edible Crafts

We also made an edible craft! Which when you’re this with preschoolers, you should know that there is more edible-ness happening than crafting. We used licorice laces as the string and Lifesaver Gummies and Froot Loops as beads. They suggested mini marshmallows, but we couldn’t make those work. 

So we just ate them!

Edible Crafts 2

Here’s my sweetie and her bracelet! (Eaten seconds later)

Snacktime!

As if they needed more sugar, we breaked for snack time! I was provided with these cute Disney Princess placemats which helped to keep cupcake crumbs contained.

Princess in Tiara

After snack time, we all put on our tiaras and played Twirling Tiaras. It’s basically a freeze dance where you play music and freeze when the music stopped. It was so much for everyone that we had to play twice!

We had an incredible time at our #DisneyKids Preschool Playdate y’all. Much needed for my preschool princess. She is still reeling from the fun she had and still plays with her Kinetic Sand and Mega Bloks toy!

_______________________________________________________________________________________________

This post was brought to you on behalf of Walt Disney World Resort and MomSelect. All opinions expressed are 100% mine. I was provided with free product in exchange for this post.


Like this post? SHARE it!

Related Posts Plugin for WordPress, Blogger...

Ideas for the Lunchbox: Grilled Cheese Rollups

The budget cuts aren’t just for the US government these days. Here at our house, we’re working on a new budget with the intent to save as much as humanly possible! I’ve always considered us a money-minded and frugal family, but we are working to try and be even more watchful about unnecessary spending.

Man, I really do sound like the US government now.

What is more frugal than a grilled cheese sandwich? Hmmm, I wonder if grilled cheese could be the answer to the US’s debt crisis?! Maybe if all the lawmakers up in Washington would agree to eat them, then we could start saving some REAL money around here. They could put them in their lunchboxes. Now THAT would be a sight!

I saw this idea over at Chin Deep as I was preparing some ideas for Addie’s lunchbox. I can’t claim I came up with these gems, but I knew I had to make them as she has recently found a deep love for grilled cheese. She gets that from her father. I hated them as a kid!

It all starts with some plain and simple sandwich bread. Whatever you can find or afford. Cut off all of the crust leaving as much of the meat of the bread as you can. You’ll also need the sliced cheese of your choice. I cut mine in half and then cut those halves 2 more times to equal about 8 small pieces from each slice.

It’s a pretty simple process. I spared you most of the step by step pictures as to not insult your intelligence. Place a piece of cheese on the very end. Roll. Add another little piece. Roll. And continue in this manner until you’ve come to the end of the bread. I used about 4 pieces for each of mine. Yours may differ depending on the size of your bread.

You can use a little bit of water on the end to help attach it and close it up for frying.

Heat up 2 tbsp of butter over medium heat.

This is where things get hot. The butter absorbs, the cheese melts, and the bread browns! It’s heavenly. It’s around 2 minutes or less on each side. You’ll just need to watch it and determine your favorite color of brown. 🙂

As a side note: you may need more butter depending on how many of these you are planning to make. The butter does absorb pretty quick so it’s possible you’ll have to refill a few times.

Voila! These are so simple and tasty. They would be great for eating with my Homemade Tomato Soup! These would also make a great finger food for a kid’s party.

UPDATE: After seeing how these fared in her lunchbox, we have decided that putting them in the microwave for a few seconds before placing them in the lunchbox helps. My Addie doesn’t prefer them to be cold, but room temp is fine. We’re going to keep trying and figure out a way to make them work. And if you have any ideas, they are surely welcome!

Ideas for the Lunchbox: Grilled Cheese Rollups

Recipe Type: Snack, Lunchbox

Cuisine: American

Author: Adapted a little from Chin Deep

A new way to enjoy grilled cheese and the perfect idea for the lunchbox!

Ingredients

  • 6 pieces white bread
  • 3 pieces sliced cheese of your choice
  • 2 tbsp butter
  • Tomato soup or marina sauce for dipping (optional)

Instructions

  1. Remove the crusts from your bread leaving as much as you possibly can.
  2. Roll them flat with a rolling pin or with your preferred method of flattening.
  3. Cut your slices of cheese into smaller little slits. I was able to get about 8 out of each of my slices.
  4. Heat 2 tbsp butter in a skillet over medium heat.
  5. Layout your bread and place a piece of cheese longways on the edge of the bread. Roll inward. Place another piece of cheese and then roll inward again. Until you’ve come to the end of your bread. Using a little bit of water, try to crimp the end so it attaches and closes up the rollup. It doesn’t have to be perfect, it just helps the frying process.
  6. Place the rollups in the skillet and fry each side for about 2 minutes or until desired brownness.
  7. Let cool on paper towels and serve with tomato soup or marina sauce!


Like this post? SHARE it!

Related Posts Plugin for WordPress, Blogger...

Making The First Birthday A Smash!

(Photo Courtesy of Betty Crocker)

I can remember back to both my girls’ 1st birthday parties. I spent lots of time figuring out the perfect theme, the decor, the guest list, and of course the food. I loved choosing these things because, let’s face it, I thought they were cute, not necessarily because my daughters even cared. But hey, that’s the fun of it right? By the way, if you need a few Mickey Mouse Clubhouse party ideas, there are some pretty fantastic ones HERE.

And then there’s this…

Oh yeah, now we’re talking! Let’s just be honest with ourselves. 1st birthdays are mainly about one thing and one thing only. Watching a child dig right into a massive mound of sugary, gooey, frosting-laced cake! We don’t concern ourselves with the mess that will be made, the hyped-up 1 year old full of sugar who will probably have a major meltdown in a couple of hours, or even the work that goes into making the smash cake. It’s all about the memory of that moment. And it’s a good one!

According to a recent survey that Betty Crocker did, 58% of moms said that the smash cake was the most memorable part of their precious one’s birthday party. I have to say that I’m with that 58%. I can remember both of my girls’ moment of smash cake bliss. It’s something that I will treasure forever.

If your little one has their first birthday coming up, chances are you’ve been thinking about party details. I love some of the ideas that Betty Crocker has for smash cakes. I especially like the No. 1 Cutout Cake at the top of this post! You can find out how to make that and many others HERE.

The infographic below also has some good ideas for whipping up a birthday smash cake.

Whatever kinda cake or decorations that you choose to create or have at your little one’s special birthday party, just remember that it’s all about the memories! Take lots of pictures, involve your loved ones, and DON’T STRESS! They only have a 1st birthday once and the memories will last a lifetime.

This is a sponsored post written by me on behalf of Betty Crocker. All opinions expressed are 100% my own.


Like this post? SHARE it!

Related Posts Plugin for WordPress, Blogger...

Affordable Mickey Mouse Party

My youngest turned 2 not too long ago and we decided on a Mickey theme for her party. It took me some time to figure out what theme to go with because she’s not at the age where she drools over certain characters and has a fit because she wants the latest and greatest of a certain toy collection. I’m thankful for that, but it created some difficulty when deciding on a party theme.

Then it hit me one morning…

She brought me the remote and said “turn on Mickey Mouse Howhouse” (That’s what she calls it). She does this almost every morning. How could I have not thought of this before? That’s all it took and I began to run with the theme idea. It’s the most fun I’ve  had planning a party in a while.

Sure, she may not remember any of it, but I’ll have pictures to remind her. 😉 I put the entire thing together on a budget. I’m almost always on a budget so most store-bought party items aren’t really an option. Plus, isn’t it always better to have one-of-a-kind things? I think so anyways.

I’ll share my ideas and give you a general idea of what I did. If there are more questions, I may end up doing separate posts for those items. Here we go!

These super simple tissue pom poms cost me a whopping $3! I bought each color separately at different stores in packs of 8 or 10 sheets. The 10-sheet packages make better poms poms, but they are harder to find. For a buck, you can create a nice hanging decoration for above your table!

This could be the decor that I was most proud of. I found much inspiration for ideas on Pinterest and ended up going with this design. I bought the straw wreath at Goodwill and the red ribbon at Walmart for around $1. The black is actually an old t-shirt that I cut up and wrapped around. The buttons were $1.

The ears are circles that I cut out of a cardboard box and covered with more t-shirt. I then pinned them to the wreath.

And of course the little signs are just printed up and taped to scrapbook paper to spiff it all up!

Scrapbook paper and fancy Disney font make a cute little sign as guests exit.

A cardboard box I had on-hand made a great goodie bag container. I just printed up a cute note and attached some Mickeys that I cut out of construction paper!

The flags are simply pieces of cut out scrapbook paper. I punched holes in each of them to run some ribbon through and hung them on top of a table cloth. The big 2 you see is (believe it or not) a 2 that I cut out of cardboard and then glued CUPCAKE WRAPPERS to! Hung with a cute little ribbon over the Mickey treats and it made for a cute party backdrop.

With scrapbook paper, I cut out little Mickey heads and punched holes in them to make Mickey Garland! I hung this all over the house including the chandelier. It doesn’t get any easier (or cheaper!) than that!

No party would be complete without snacks! If you know a lot about Mickey Mouse Clubhouse, than you’ve probably seen them fishing for Gooey Fish. Swedish Fish make great substitutes for those. Using scrapbook paper, I was able to create cute little name signs for all the food.

As a side note- if you haven’t heard of Gooey Fish from Mickey Mouse Clubhouse, don’t feel bad. Apparently I know WAY too much about the show! lol

Pigs in a blanket make the perfect Hot Diggity Dogs and snack for hungry kiddos at your Mickey party! Once again, this is a cheap snack that everyone will loves. Especially kids!

I threw some Bugles in a bowl and called them Oh Toodles! Bugles.

Getting a little more creative with the names of the foods, these are Meeska Mouska Marshmallow Treats. AKA Strawberry Rice Krispie Treats. Tasty!

The name of this snack wasn’t as creative, but the popcorn was DE-lish! Birthday Cake popcorn made with actual cake mix. It’s divine and costs pennies to make!

I had only just learned of the PB&J Sushi when I was gathering my menu for this party. I just had to include these. They were a HUGE hit. I found the recipe here. They were so easy, but seemed like they took a lot of work. I love those type of snacks!

These “Minnie” Pizzas were also a big hit. I started making each of them with a big pepperoni and 2 small ones on the top, but it became a little tedious and my time was running thin. I’m glad I opted out of making them all that way. They weren’t around long enough to admire!

I had these super cool milk jugs from a local dairy to put chocolate milk in. We called it Clarabelle’s Moooooooo Milk!

Whowouldathunk (yes, this is totally a word y’all) that grapes could make such a pretty presentation? Skewers did the trick to make these just right for individual servings. Must I say it? They were a hit!

The cupcakes were Cookies ‘N Cream Cupcakes and they were really tasty. Different size Oreos made for cute little Mickey heads as toppers. I hid a Oreo and a dollop of marshmallow cream inside each cupcake, too!

I printed off the little sign and attached it to one of my construction paper Mickey heads. The cupcake holder was $1 at Michael’s. Love that store.

Pluto’s Pineapple Punch was nothing more than Ginger Ale and Pineapple Juice and ice. So easy and tasty at the same time.

Mickey party success! What do you think?

Are you planning a Mickey party soon? I’d love to hear your ideas or suggestions!


Like this post? SHARE it!

Related Posts Plugin for WordPress, Blogger...

2-Ingredient Oreo Bark

How did your family do with the time change? Everyone enjoy their extra hour of sleep at your place? With 2 girls under 5, there was no extra hour of sleep here. They just don’t cherish that hour like we do. I even had a conversation with my 5 year old the other night about how mommy and daddy like sleep. She just couldn’t grasp why we would enjoy wasting so much time with our eyes closed. That whole conversation was a lost cause. It never really went anywhere and contained no resolution for her.

Sometimes it’s better to just not try and explain things to a 5 year old, huh?

Last week, I had a hankering for something Oreo. I can’t ever bring myself to actually indulge in eating oreos, but I do like to make things containing them. Go figure. I had a package of white chocolate chips in the pantry and some individual packages of Oreos.

Can you say simple? That’s all that I needed to make this incredibly tasty candy bark. It took literally minutes to make and satisfied my Oreo hankering times 2.

I found myself eating so much of it that I sent it to work with the hubby. That’s my secret weapon, y’all. You notice sometimes I don’t always make “healthy” things. Those are usually the ones that I try to send away to a friend or to work with hubby.

It all starts with a cookie sheet covered in wax paper. Crumble up about 12 or so Oreos and lay them around the cookie sheet. Melt up your white chocolate chips and pour them over the Oreos. Smooth out and place in the freezer for about 10 minutes or so and YOU’RE DONE.

Does it get any easier?

This, my friends, would make a fantastic food gift for Christmas! Simple wrap it up in a fancy tin or treat bag and tie with a Christmas bow and you have one cheap and cheerful gift!

Who wouldn’t enjoy Oreo Bark?

2-Ingredient Oreo Bark
Recipe Type: Dessert, Snack
Author: Pennywise Cook
With only 2 simple ingredients, you can make a Christmas gift or tasty snack within minutes!
Ingredients
  • 12 or so Oreos (Crumbled)
  • 1 (12 oz) Package White Chocolate Chips
Instructions
  1. Line a cookie sheet with wax paper. Spread the crumbled Oreos around the sheet.
  2. Melt entire bag of white chocolate chips according to the package or in a double boiler.
  3. Once melted pour over the Oreo pieces and smooth out. Place cookie sheet in freezer for about 10 minutes and then break into pieces.
Notes

If you don’t have a double boiler to melt your chocolate chips, just use two sauce pans. Place hot water in the bottom one and the chocolate chips in the top. Bring the water to a rolling boil and melt the chips.


Like this post? SHARE it!

Related Posts Plugin for WordPress, Blogger...

Candy Corn Fudge

I realize that those of you out there who don’t like candy corn are probably cringing right now. But luckily for you, this fudge doesn’t actually taste like candy corn. And for those of us who do like candy corn, you can make some of this for your candy corn-hater friends and keep all of the actual candy corn for yourself. With Halloween just around the corner now, it’s everywhere!

For Christmas last year, my husband got me 6 bags of candy corn. He got a stellar deal on them after Halloween and put them up until Christmas. He knows the way to my heart. 😉

True story.

And no, that’s not all that he got me. 🙂

This fudge isn’t for those watching their sugar. Or calories, or carbs at that. It’s high in everything I’m sure, but is a worthy splurge for the candy holiday. It also looks quite festive and makes a great party snack!

I can’t help but love this recipe because it only contains 4 simple ingredients. Needless to say that the steps are simple too! In total, it took me about 30 minutes, 1 dirtied mixing bowl, a dirtied measuring cup, and a major sugar high to make this.  When I say major sugar high, I mean I ate waaaaay too much of the ingredients while making it.

Learn from my mistakes and don’t do it if you want to eat any of the actual fudge. 😉

That’s a mix of white chocolate chips, marshmallows, and vanilla frosting. Who wouldn’t want to dive right into that?! This picture begins the layering process which is much easier than it sounds.

We’ve given the white a little time to cool and set and here comes the orange layer! It happens pretty fast.

And after finishing up the layering, you’ll be proud that you decided to use wax paper because it makes it super easy to remove from the pan and cut into perfect little fudge pieces!

This would be a great fun fall snack to make with the kiddos. Stirring in the coloring is the best part, aside from licking the spoon. I’ve always got an eager spoon-licker around here.

Here’s how to make it!

Candy Corn Fudge
Recipe Type: Dessert, Snack
Author: Pennywise Cook
With just 4 ingredients, you can create fun and festive fudge that mimics the look of candy corn!
Ingredients
  • 1 Package Mini Marshmallows
  • 1 Tub Vanilla Frosting
  • 1 12 oz Bag White Chocolate Chips
  • Orange and Yellow Food Coloring
Instructions
  1. Line a square baking dish with wax paper.
  2. st Layer:
  3. In a large mixing bowl, place 3/4 c. white chocolate chips, 3/4 c. mini marshmallows, and 1/4 c. + 2 tbsp vanilla frosting. Microwave on 50% power for 30 seconds. Remove and stir. Return to microwave and heat for another 30 seconds. Stir and pour into bottom of baking dish. Smooth out to all of the edges. Place in refrigerator to set for 10-15 minutes.
  4. nd Layer:
  5. Place the same ingredients in bowl and microwave as you did the other layer. Add orange food coloring to melted mix until you reach desired color. Pour onto cooled and set white layer. Smooth out to all edges and return to refrigerator for another 10-15 minutes.
  6. rd Layer:
  7. Place the same ingredients in bowl (use up the rest of the white chocolate chips, but you may have some leftover marshmallows and frosting) and microwave as you did the other layer. Add yellow food coloring to melted mix until you reach desired color. Pour onto cooled and set orange layer. Smooth out to all edges. At this point, I place mine in the freezer for 10-15 minutes for it to set really well.
  8. Using wax paper, pull out from dish and cut into squares. Store in refrigerator to keep firm.

Like this post? SHARE it!

Related Posts Plugin for WordPress, Blogger...

No-Bake S’mores Pie

Fall is here! On our trip these past couple of weekends I noticed the trees a changin’ and they are just beautiful. It was especially beautiful driving through the mountains in Chattanooga. I love looking down on huge valleys just covered in autumn-colored fall trees. Makes the drive more enjoyable for sure!

Along with the leaves falling and cooler weather, campfires are sure to follow! In fact, we’re thinking about having a family night this weekend around our fire pit. The feel of cool, crisp air mixed with a crackling fire and marshmallows just can’t be beat in the fall. And you can bet that some fall treats will be eaten! S’mores are my all-time favorite campfire food. I enjoy a roasted hot dog every now and then. And popcorn in those foil packages are fun, but s’mores are the real deal.

Even before the weather even pretended to cool off, I got a hankerin’ for a s’more. Somehow, instead of creating just 1 s’more, I ended up creating this pie. That’s ok. I’d rather have an entire pie than 1 s’more anyways.

So this pie is super simple. I wanted to make it a little better for you, so instead of using creams, I opted for a nonfat yogurt. Of course after using an entire bag of chocolate chips, it doesn’t really matter. But hey, at least I make the effort right?

All the prettiness on the top is completely optional. I had just bought the ingredients for my s’more so I had them and thought why not make the pie look pretty? So depending on how pretty you make yours look, you’re talking between 4 and 6 ingredients. Most of which are highly inexpensive and easy to work with. This pie would be a GREAT thing to bring to a cookout get together.

The one thing that I will point out is that the yogurt does give the chocolate filling a bit of a tang. Clearly this was my sacrifice for making something better for you. My daughter noticed this immediately, but it didn’t bother my husband. If you think you might not like that, try using heavy cream instead. Should taste great and give the same type consistency.

Here’s how to make it:

No-Bake S’mores Pie
Recipe Type: Dessert
Author: Pennywise Cook
You don’t have to make a fire to have s’mores! Try this easy pie to satisfy your craving!
Ingredients
  • 1 Graham Cracker Crust (reduced fat)
  • 1 Bag Semi-Sweet Chocolate Chips (12 oz)
  • 1 c. Plain, Nonfat Yogurt (or heavy cream)
  • 1 tub Marshmallow Cream
  • 2 c. Mini-marshmallows- Optional
  • 5 Graham Crackers for Topping- Optional
  • 1 Hershey Bar for Topping- Optional
Instructions
  1. In a large microwavable bowl, place the chocolate chips and 1 cup yogurt. Microwave on 50% power for 5 minutes. Remove and jiggle the bowl getting the chocolate chips to move around without stirring. Return to microwave and heat on 100% powder in 15-30 second increments until the chips begin to melt. Stir until smooth. Place in the refrigerator for at least 1 hour- 2 hours.
  2. Chocolate mixture should be cold. Place in a mixing bowl and whip until the chocolate turns a light brown color. Whip for about 5 minutes on high. Pour into graham cracker crust.
  3. Top with marshmallow cream (though you may not need the entire tub). Top with chocolate pieces and graham crackers if you wish and line the outside with mini marshmallows.

Like this post? SHARE it!

Related Posts Plugin for WordPress, Blogger...

Slow Cooker Pizza Dip

It’s almost football season. Are you jumping up and down? Or are you grunting at the thought of all the money you’ll be spending on beer and the time you’ll lose with hubby because he’s glued to the tube?

We are not sports folk.

My husband could care less about who is playing what or when the game is on. Frankly, neither am I. But there is one thing that I do enjoy and it’s game food. I love making snacks and treats for the big game even though I probably won’t even lay one eye on the TV set. I’ve even thought about having a mock football party just to make cute little treats.

Is that silly? Maybe, but not really if you know how much I love food.

This Pizza Dip is so easy. No crazy ingredients needed and your crockpot does all of the work. You may have seen recipes for Pizza Dip before, but most of them contain cream cheese. Nothing wrong with that, but often times it can add just a bit of fat and calories that aren’t always necessary. I’ve adapted this from the Fix It and Forget It Lightly Cookbook.

I made this dip recently for a gathering that I had. I had no idea what to serve it with, so I just grabbed some of those little toasts that you find in the deli section of the grocery store. They are like a $1 and are so incredibly cute! I think this is the absolutely best thing to serve this dip with. If you can’t find them, I think that little crunchy bread sticks would also do the trick.

The best part about this dip? It’s low in calories! Less than 100 calories per serving and you can feel absolutely no guilt for eating it. I even used turkey pepperoni to keep it lean. Top it with a little shredded mozzarella and it’s just like eating a pizza but without all of that breading to weigh you down.

It’s the perfect game day snack! Even if you’re not going to watch the game…

Slow Cooker Pizza Dip
Recipe Type: Crockpot, Dip, Side Dish, Appetizer
Author: Pennywise Cook
The satisfaction of pizza without all of the calories and perfect to make for a get together!
Ingredients
  • 28 oz Can Crushed Tomatoes
  • 1 Small Can Sliced Black Olives
  • 1 c. Onion, Chopped
  • 5 oz Turkey Pepperoni, Chopped (or the mini version)
  • 1 and 1/2 tsp Italian Seasoning
  • 1 Tsp Garlic, Minced
  • Shredded Mozzarella Cheese for Sprinkling
Instructions
  1. Combine all ingredients in a slow cooker and cook on low for 2-4 hours.
Notes

My crockpot tends to overheat things, so I have even made this and put my crockpot on warm before and it worked just fine. It also made it possible for me to cook it longer without overcooking it.


Like this post? SHARE it!

Related Posts Plugin for WordPress, Blogger...